


If you've been creating themes for your clients in Wordpress, you've probably experimented with different options:
- Page builders - Page builders like Divi or Elementor get the job done, but they are slow to load in the backend and make your site unnecessarily heavy.
- Theme flipping - Buying a cool looking theme on ThemeForest, and making some changes to it can be quick and easy, but sometimes stuff breaks and your theme doesn't work as well as promised.
- Creating themes from scratch.
Unfortunately, these methods don't always go so smoothly. But I'm here to show you a new, and in many aspects, a better way to create your next custom WordPress theme.
And you're going to do that with Webflow.
Today, you're going to learn:
- How to grab a starter Webflow theme
- How to convert a Webflow theme to Wordpress
- How to install your theme in Wordpress
- How to collaborate with your stakeholders to finalize your design
Ready?
Then let's get started.
Who should read this guide
The goal here is to walk you through creating a Wordpress theme using a theme created in Webflow. Not to teach you how to create a customized theme in Webflow. Learn how to use Webflow here.
If you design or develop Wordpress websites, or run an agency that offers this service, or if you're a Webflow designer that wants to provide your themes to clients hosted on Wordpress, you'll be glad you found this guide.
What tools do I need to convert my Webflow theme to Wordpress?
You will need:
- A Webflow "Lite" account (optional: upgrade to remove the Webflow branding)
- Udesly account (they have a great 7-day free trial)
- Administrative access to Wordpress will be enough to get you started, no need for FTP or Git for this guide.
Why should I use Webflow to create my next Wordpress theme?
Great question, and the answer is speed and flexibility.
Yes, Webflow has its learning curve, but once you get past it, you'll be able to make quick changes to your Wordpress theme in minutes instead of hours or days. Plus, your site will be:
- 100% responsive
- 100% customized and
- Lightning-fast
You won't have to deal with page builders with limited features and add unnecessary bloats to your client's website. And your client will be amazed once they see a truly customized site.
Part 1: Download a starter theme from Udesly
- Head over to Udesly and signup for an account. Signup for their 7-day free trial to get you started.
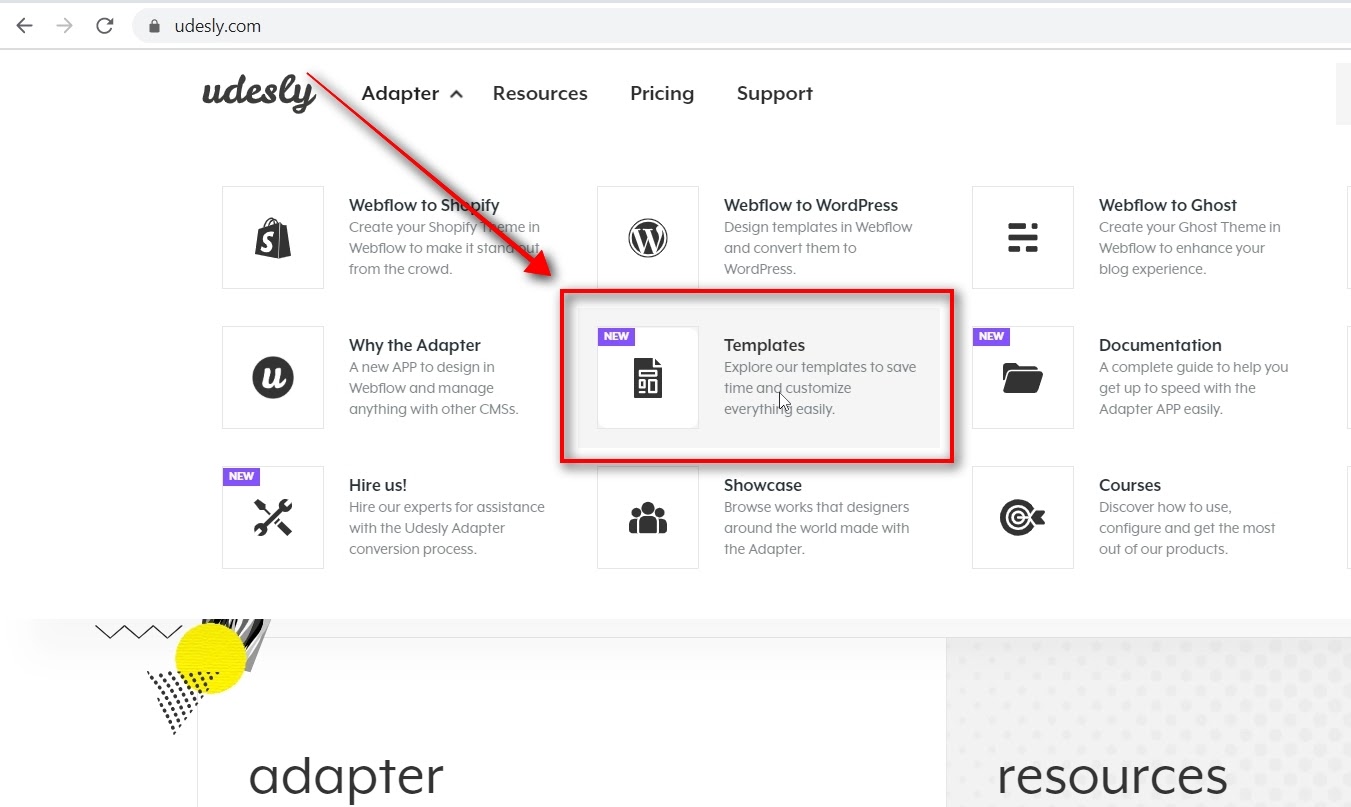
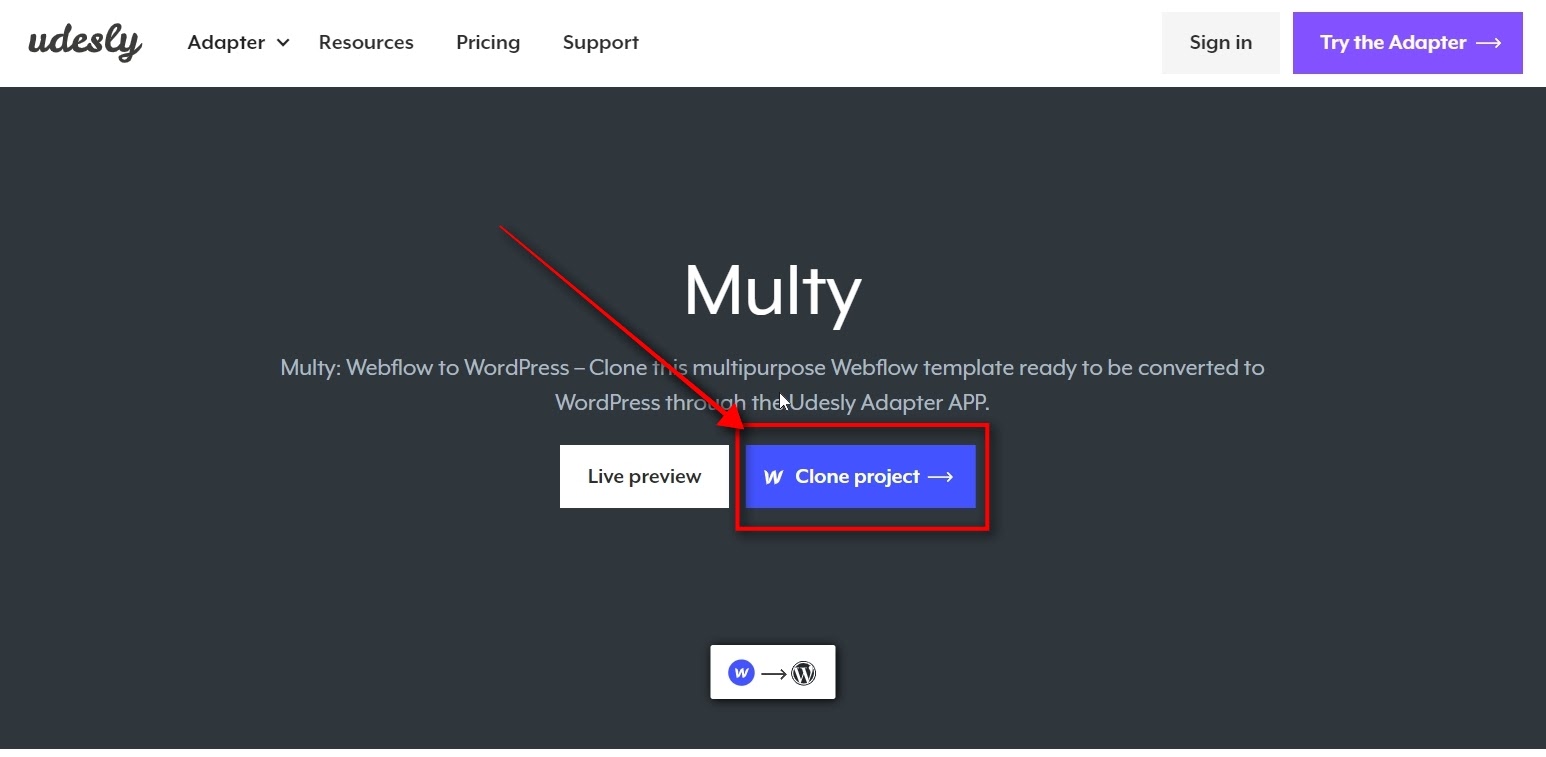
- Choose a Udesly theme to clone - From the main menu click on “templates”. Udesly offers 2 free themes you can clone: Multy (I used this one), Joblio
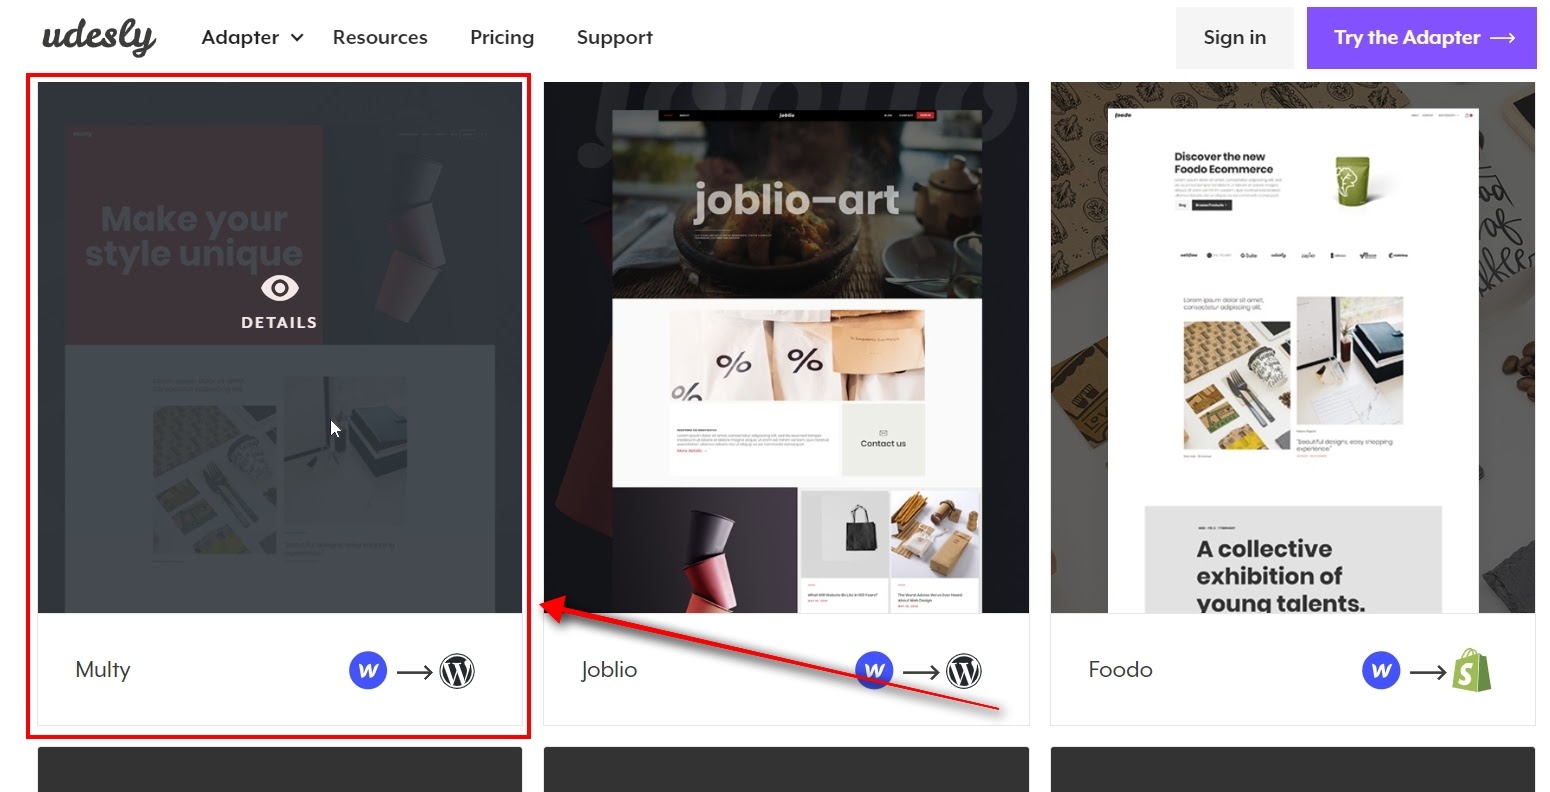
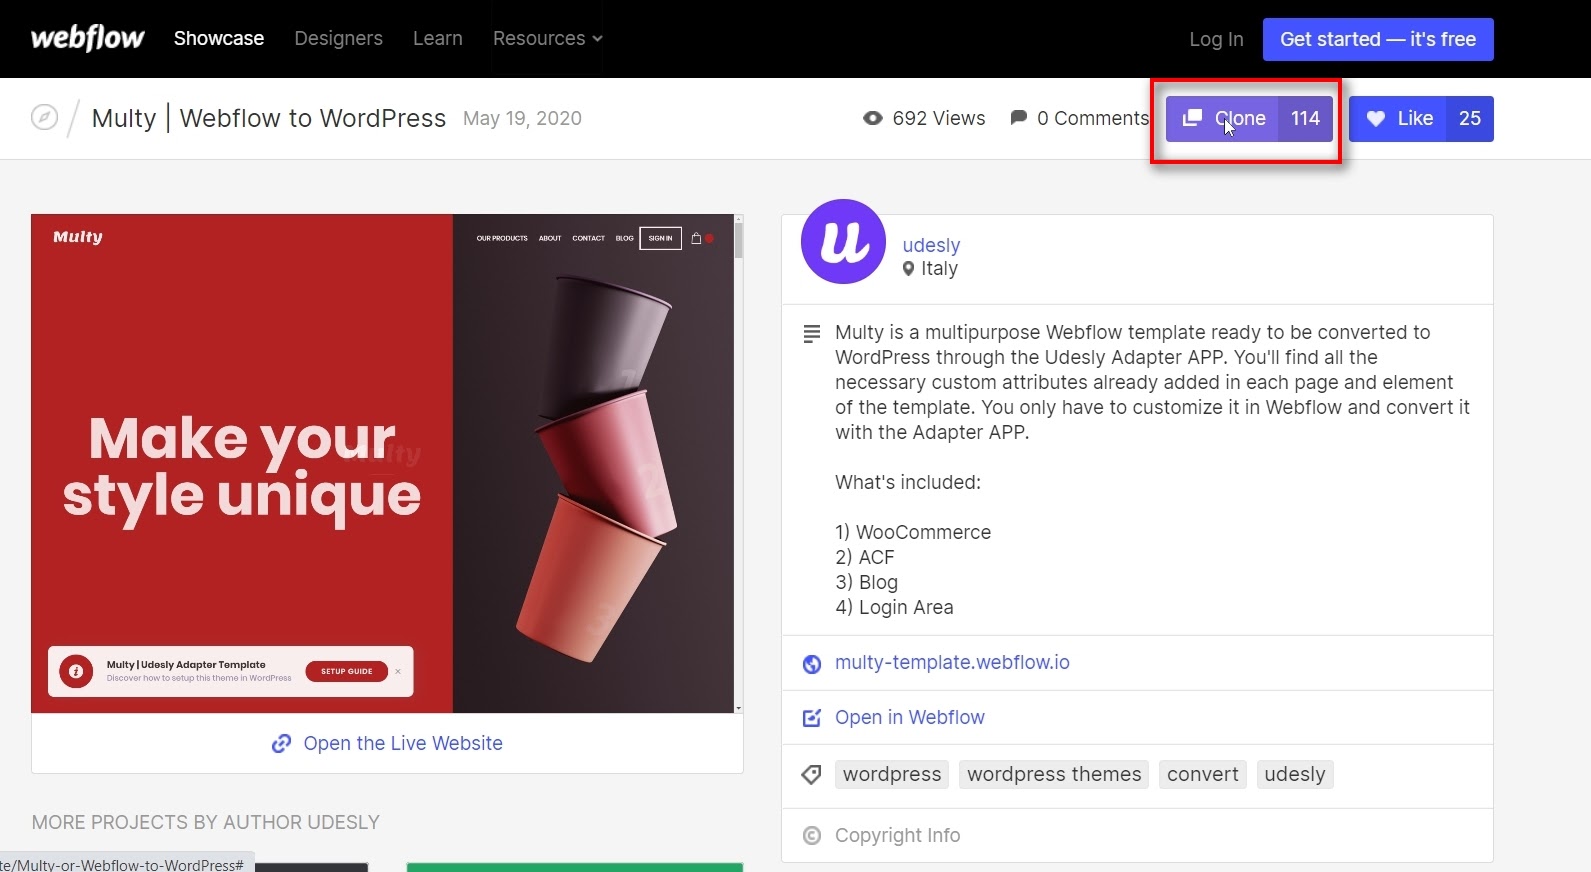
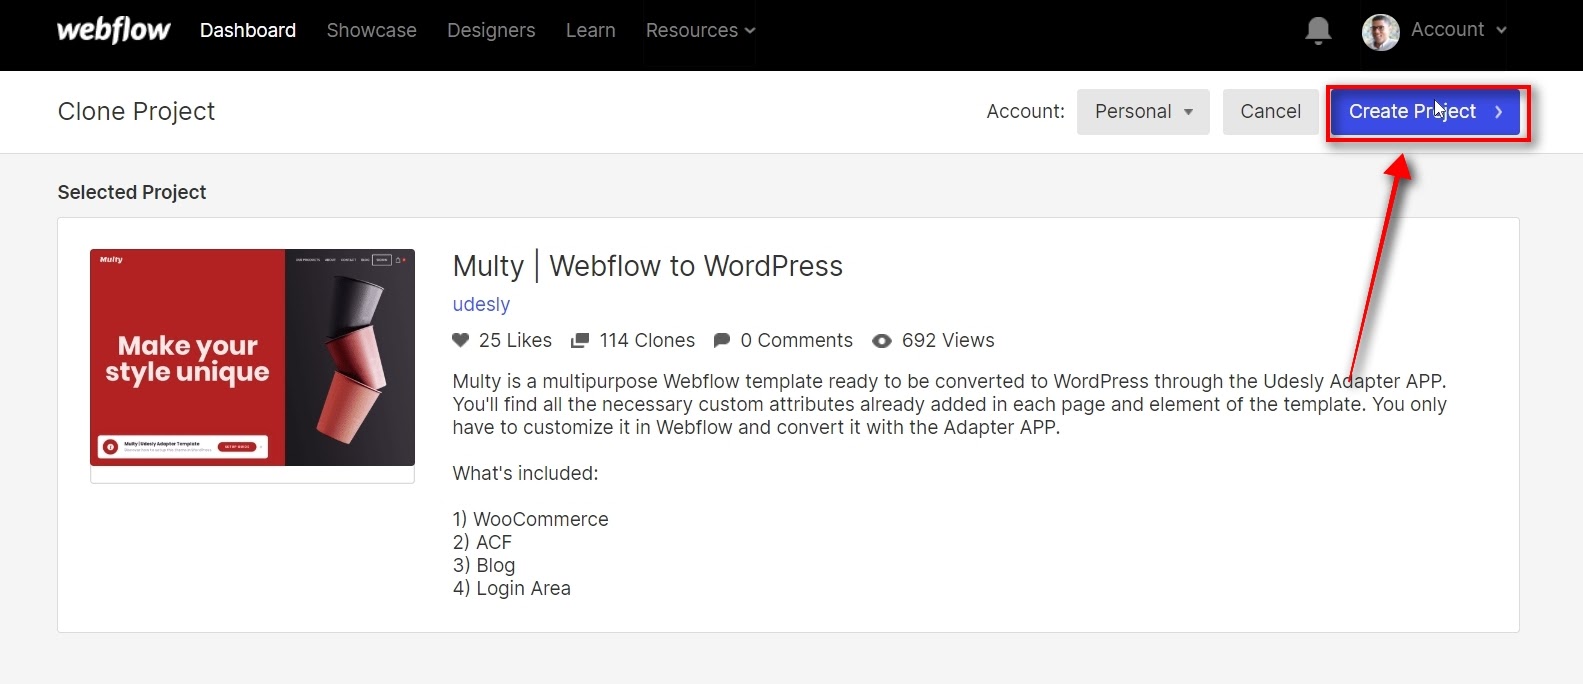
- Clone theme to Webflow - Hit the "clone project button" at the top of the screen, and you'll be redirected to Webflow, where you'll need to click "clone," then "create project," then give your project a name.
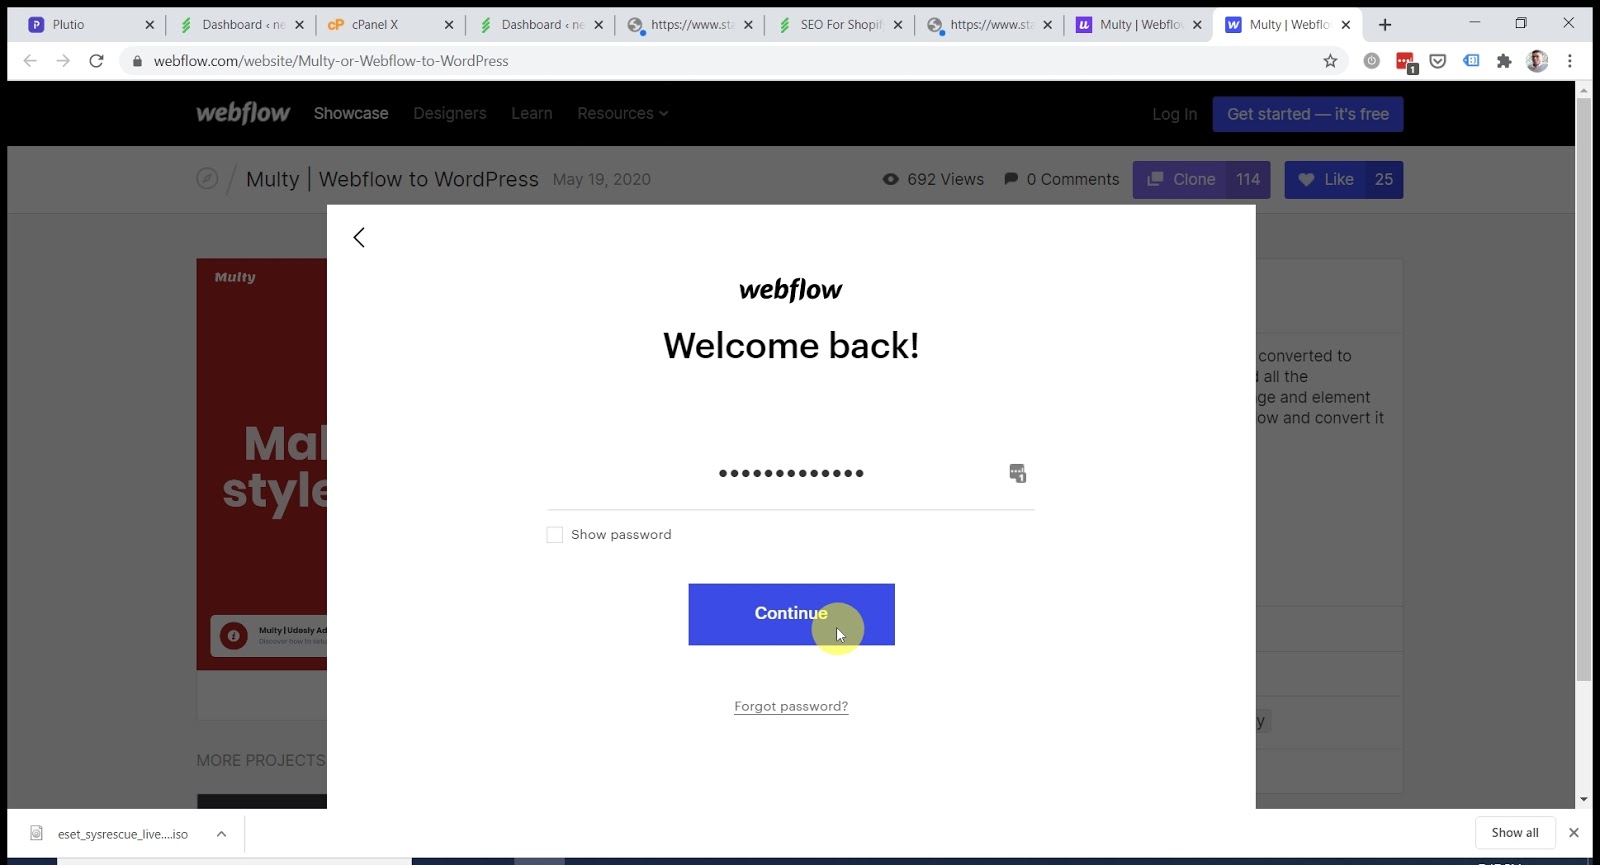
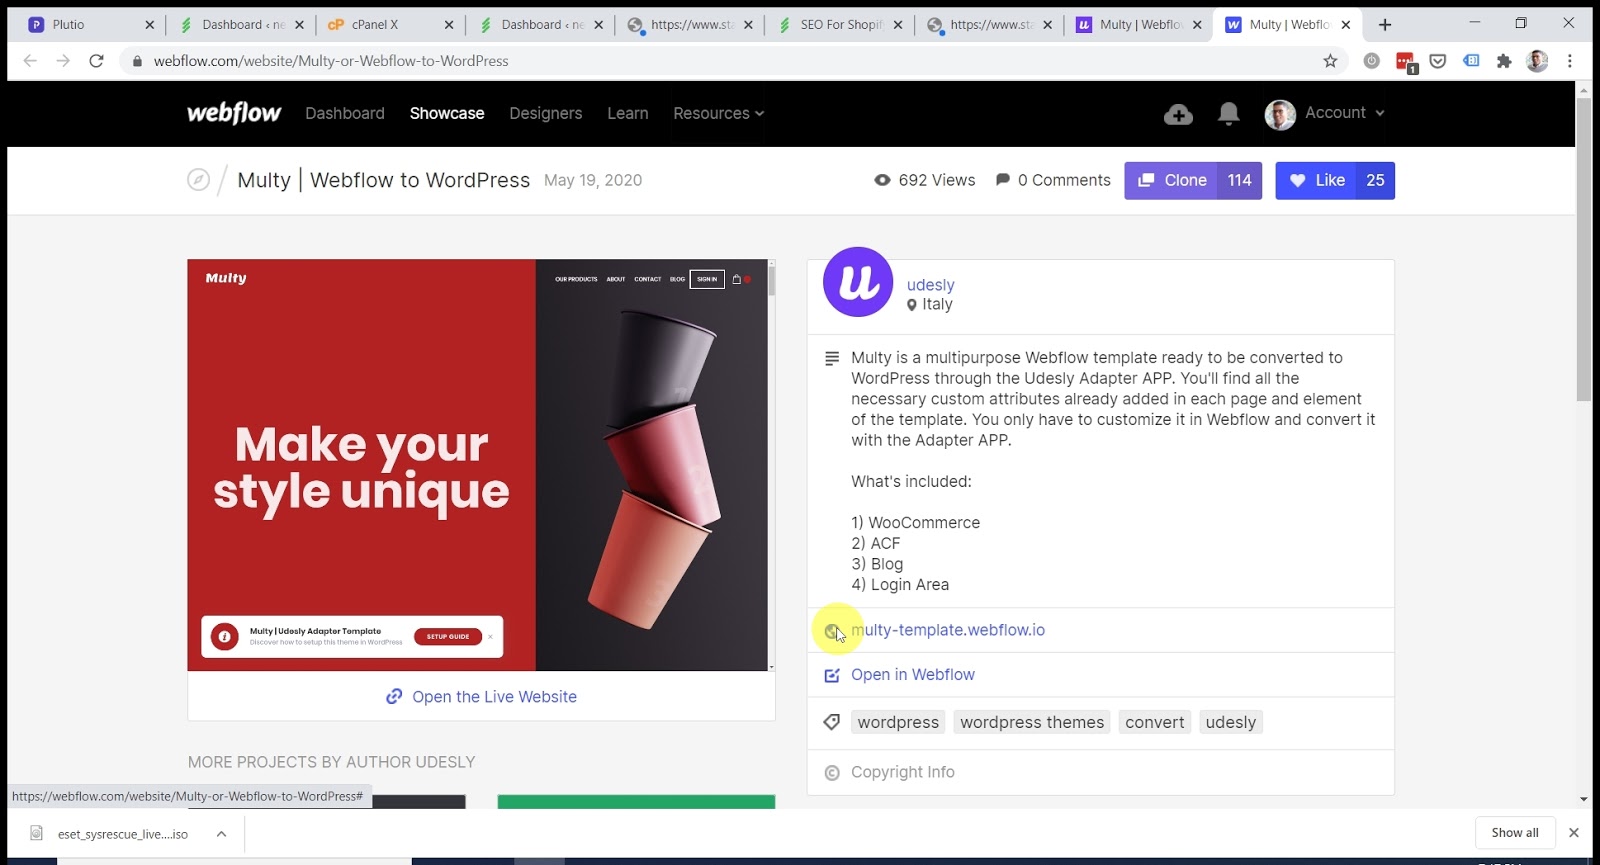
- Create a project and give it a name:

Part 2: Customize your Webflow theme
If your client has provided you with images and graphics, follow these steps (skip ahead if you just want to learn to export and convert this webflow theme to wordpress) to add them to your Webflow theme:
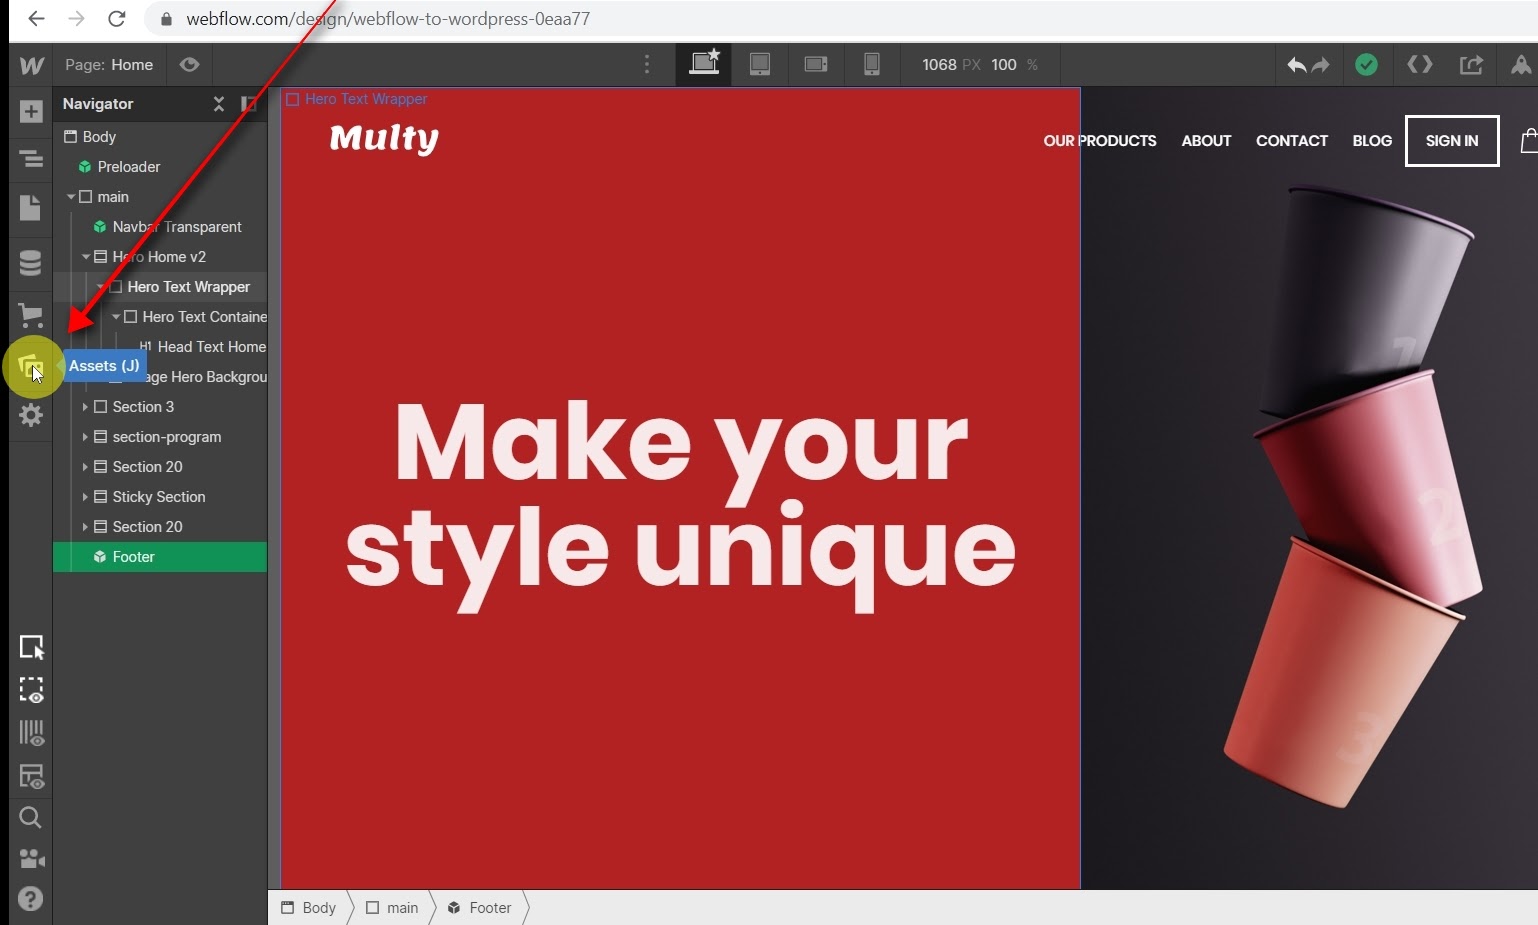
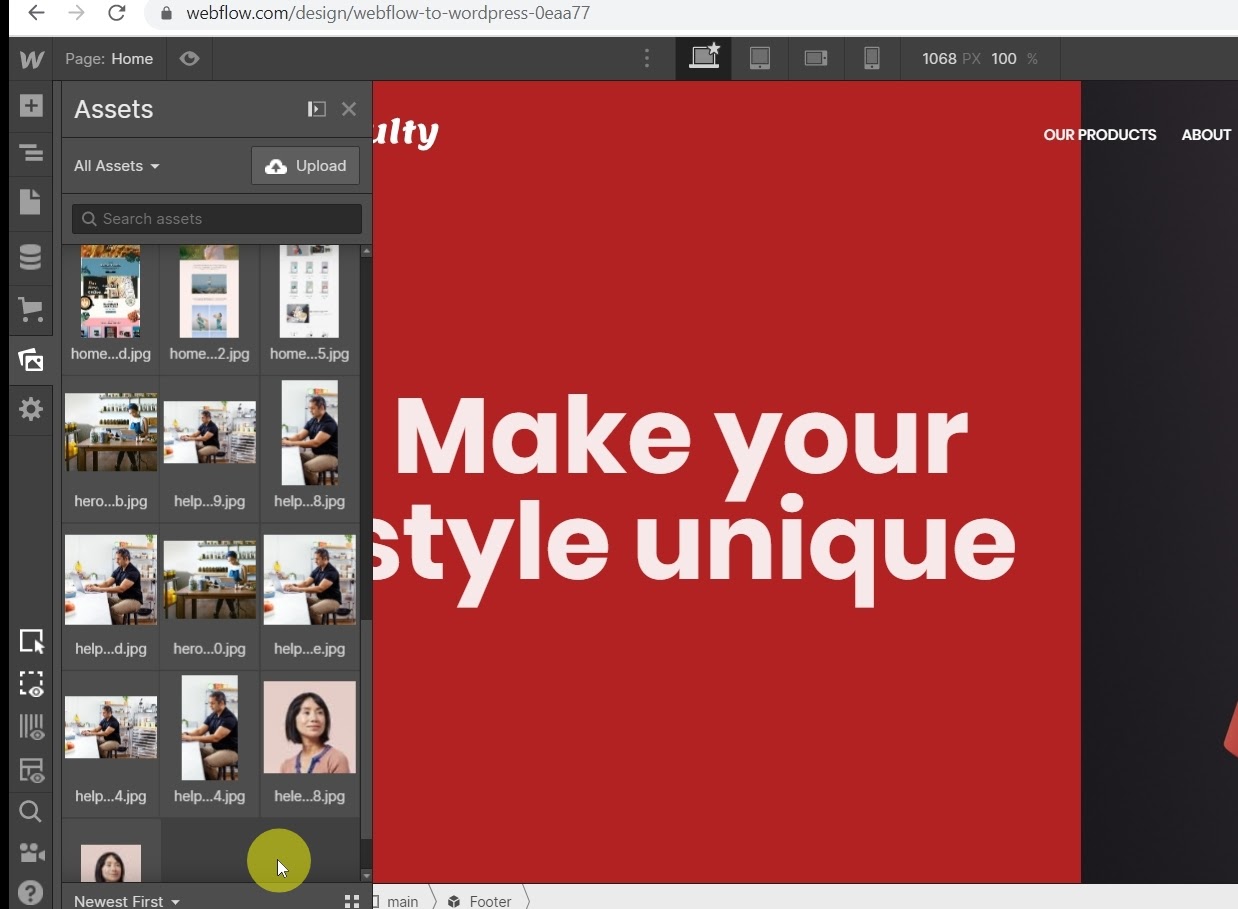
1. Click on assets:
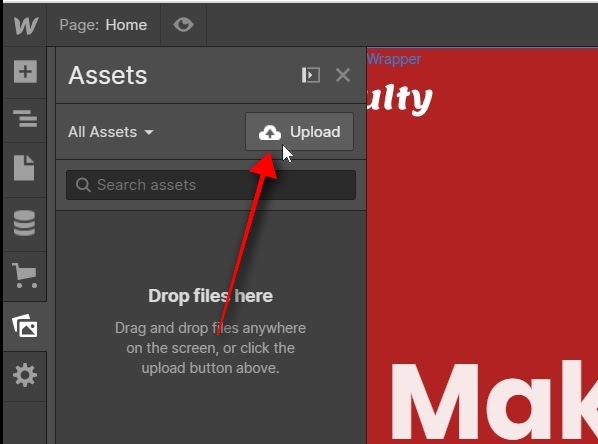
2. click on “upload”:
3. Select the files to be uploaded:
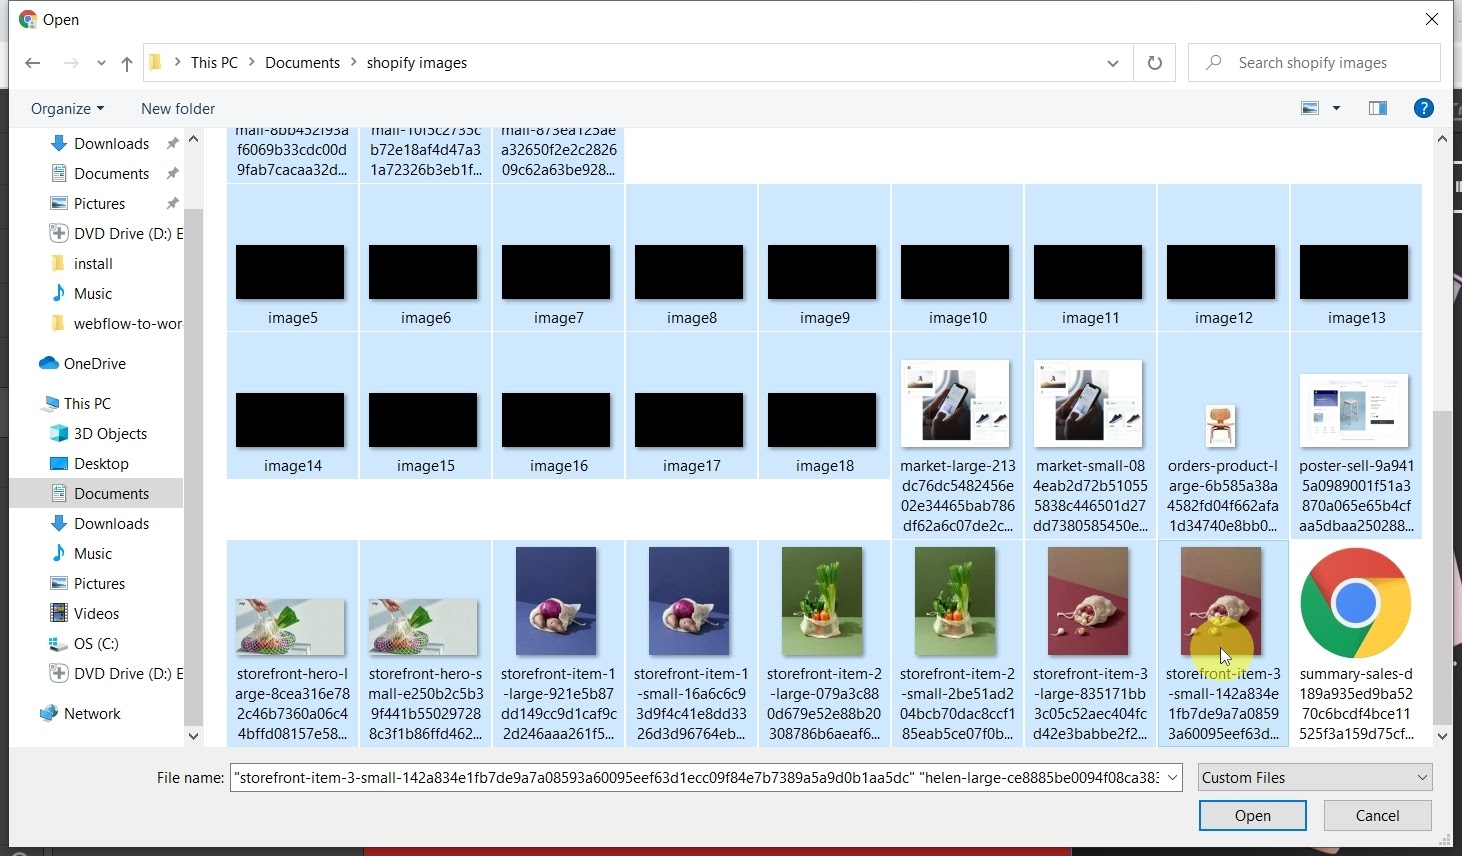
you’ll now see your images and graphics in the assets panel:
4. Customize your theme but don't add or remove elements
We can write an entirely separate blog about customizing your theme, but for this one, we want to get you through the process of moving your first theme from Webflow to Wordpress. So update as many or as few of the images, graphics you'd like. Repeat this process for three pages, your homepage, your about page, and a blog post page.
Updating your header menu - This can be a tricky process, so you'll want to pay close attention.
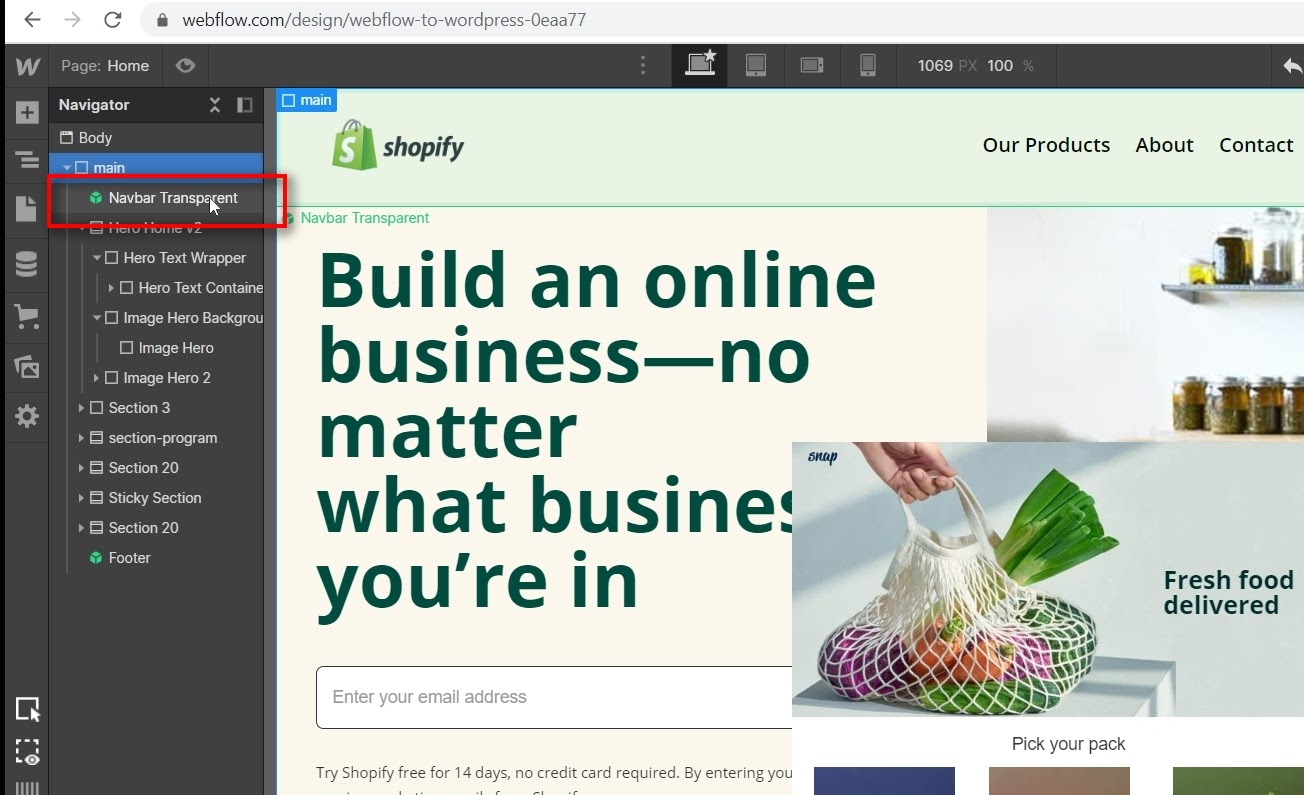
5. Select the header menu
Open up your Webflow theme, then double click on "Navbar transparent" from the "Navigator" widget to the left.
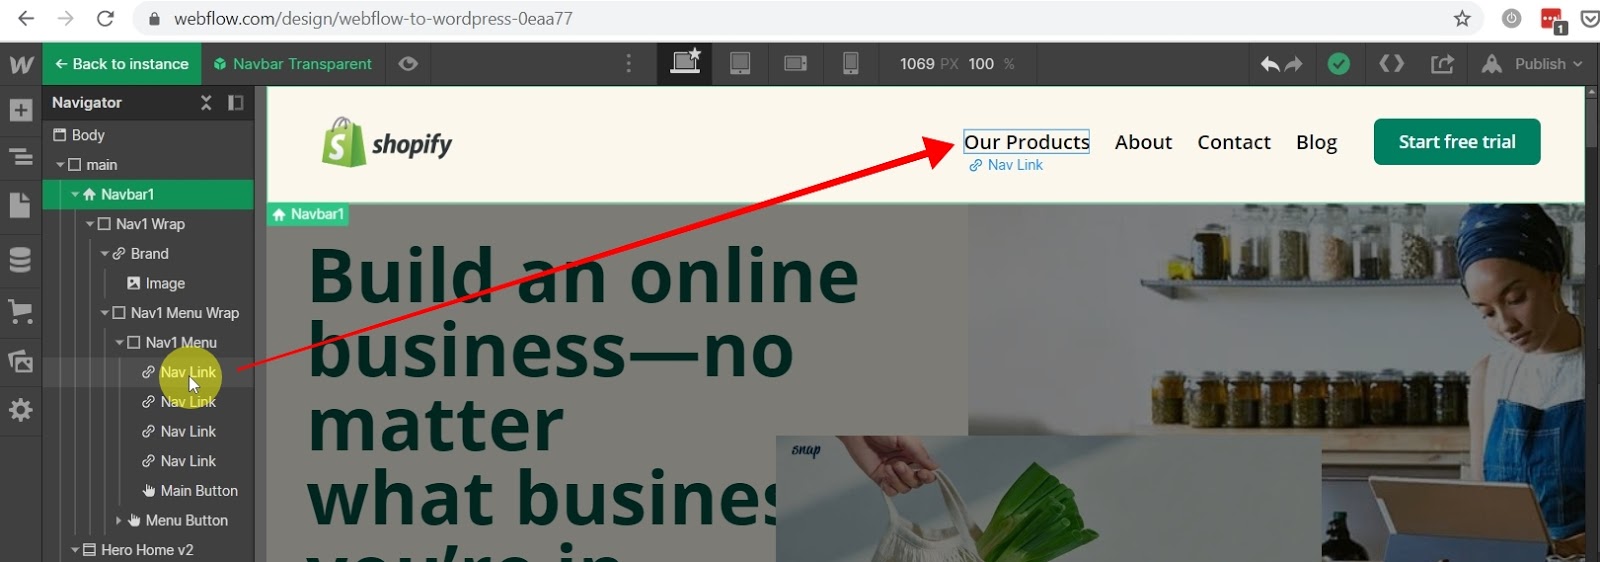
6. Select one of the "Nav link" elements
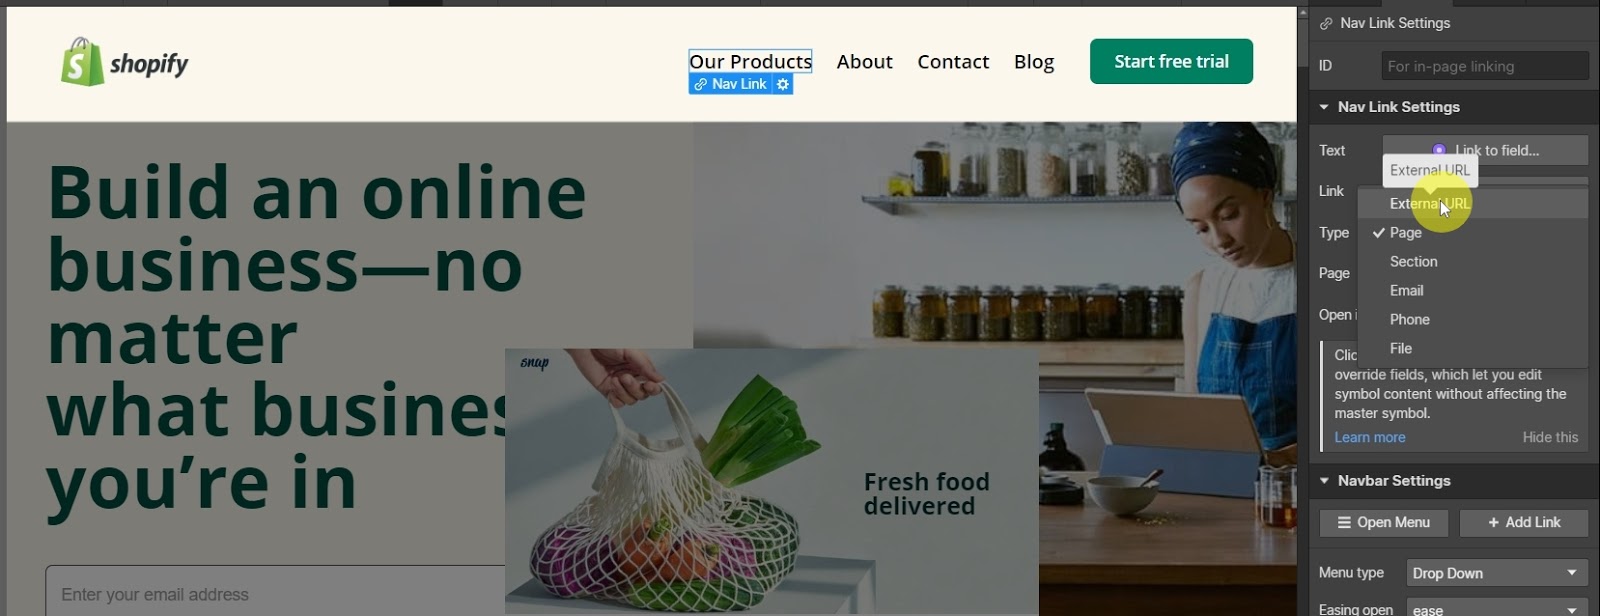
7. Change link type
Click on the dropdown next to “Link” in the Nav Link Settings, and select “External URL”
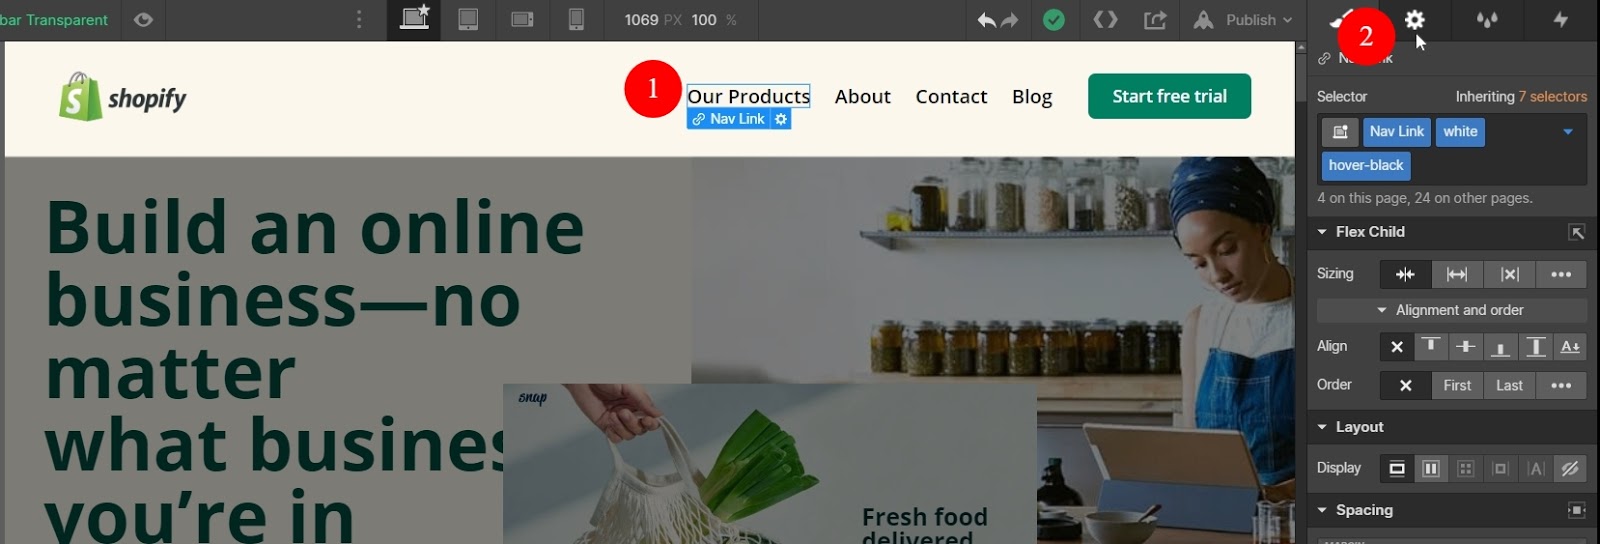
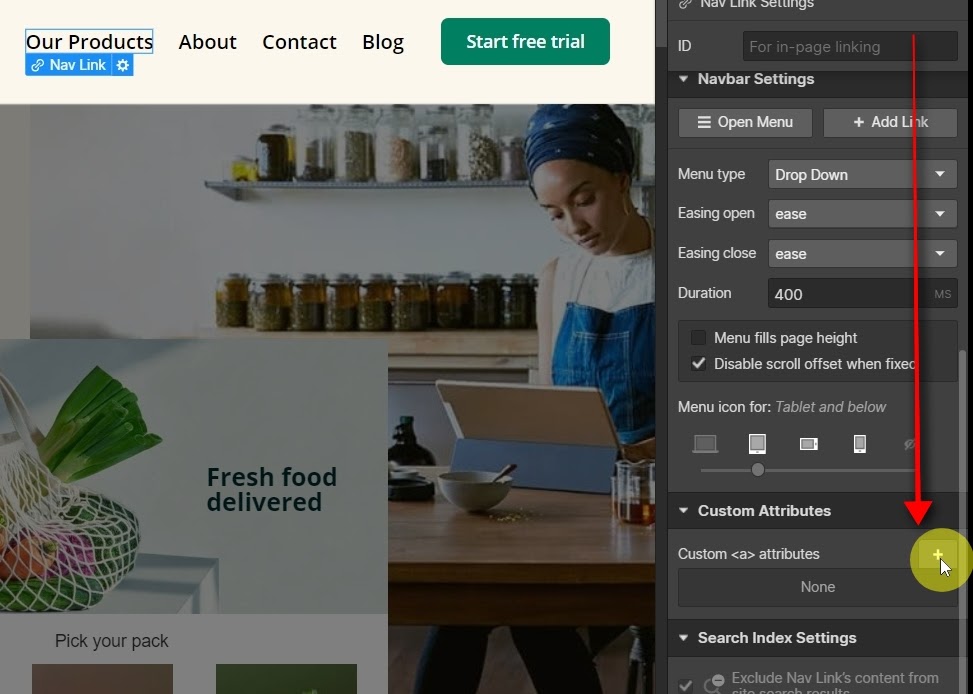
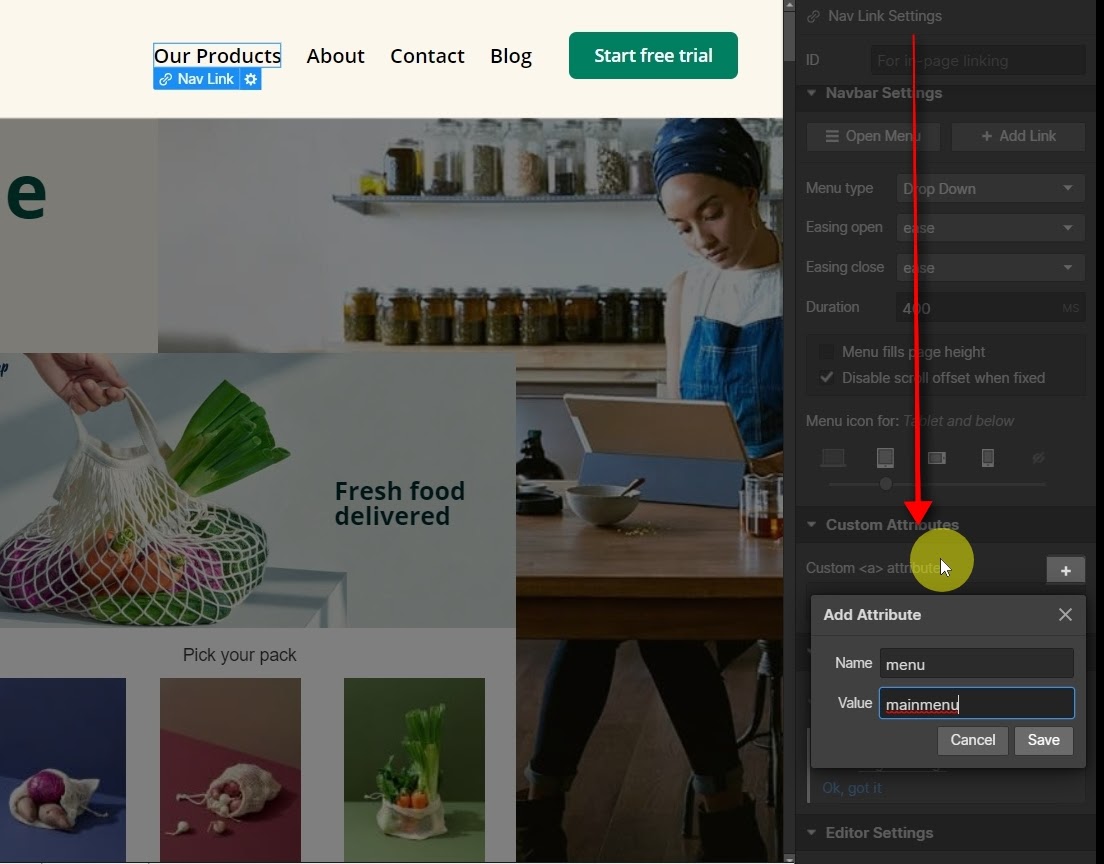
8. Add attributes
Click on the "Elements Settings" widget to the right, then scroll down to "Custom Attributes," click on the "+" button, and enter "menu" in the "Name" field, and "mainmenu" in the "Value" fields, then click "Save."
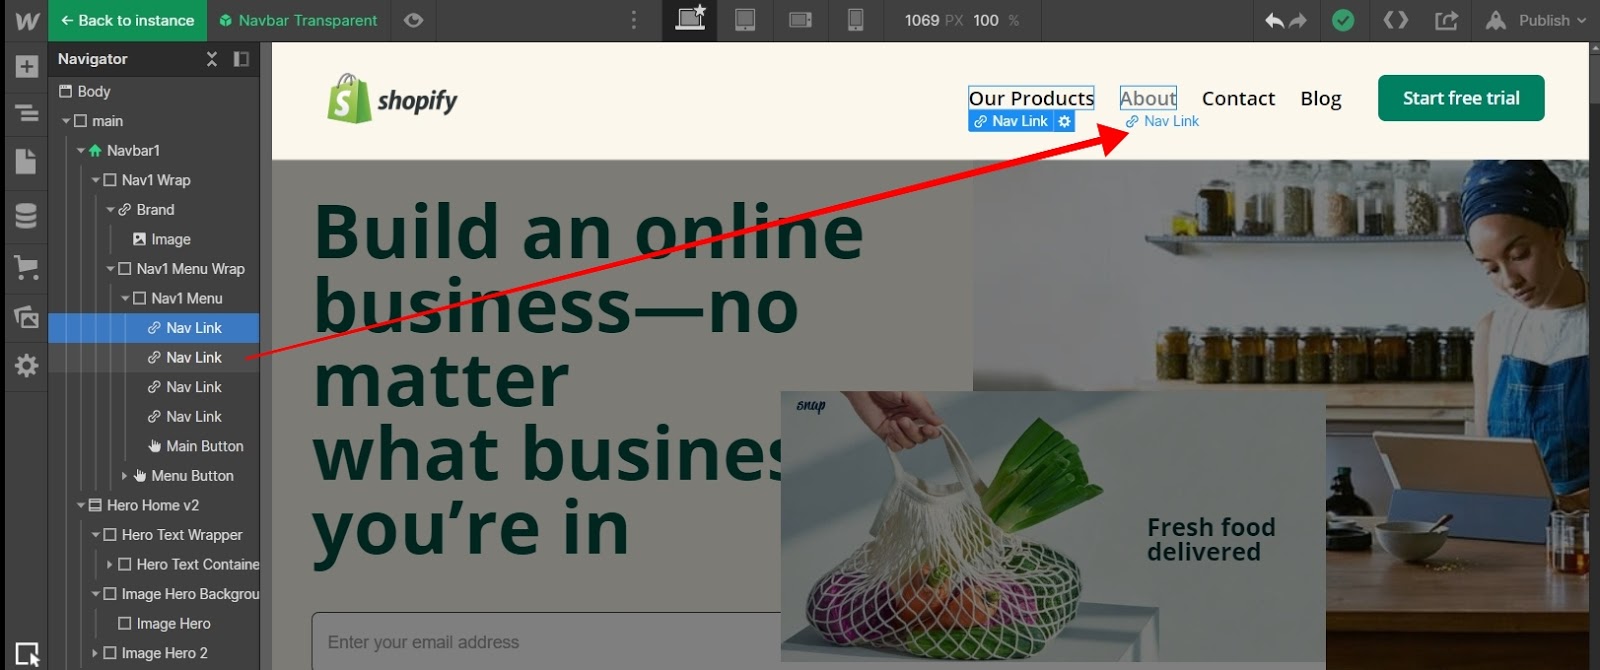
9. Keep one nav link
Delete all other links in the main menu labelled “Nav Link” so that you just have the one link with the “Name: menu / Value: mainmenu” attributes you added.
Part 3: Export & convert your Webflow theme
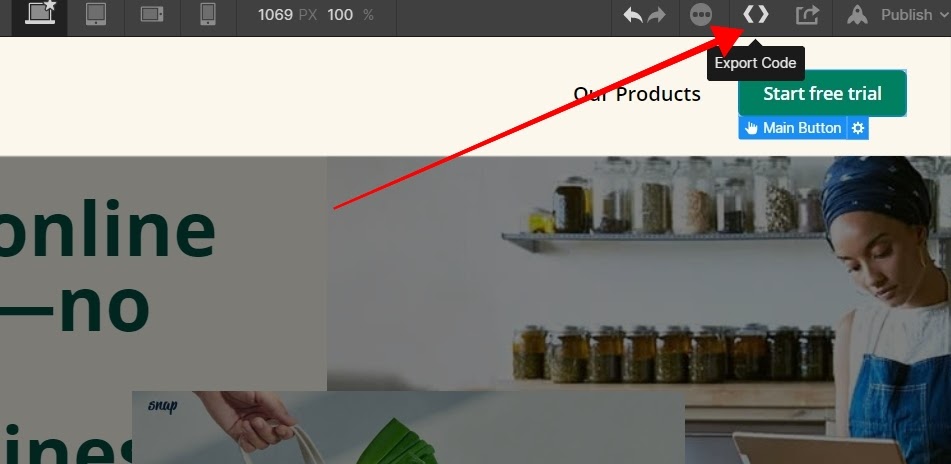
1. Export Webflow html and css code
Click "export code" inside your Webfow theme in the top menu bar.
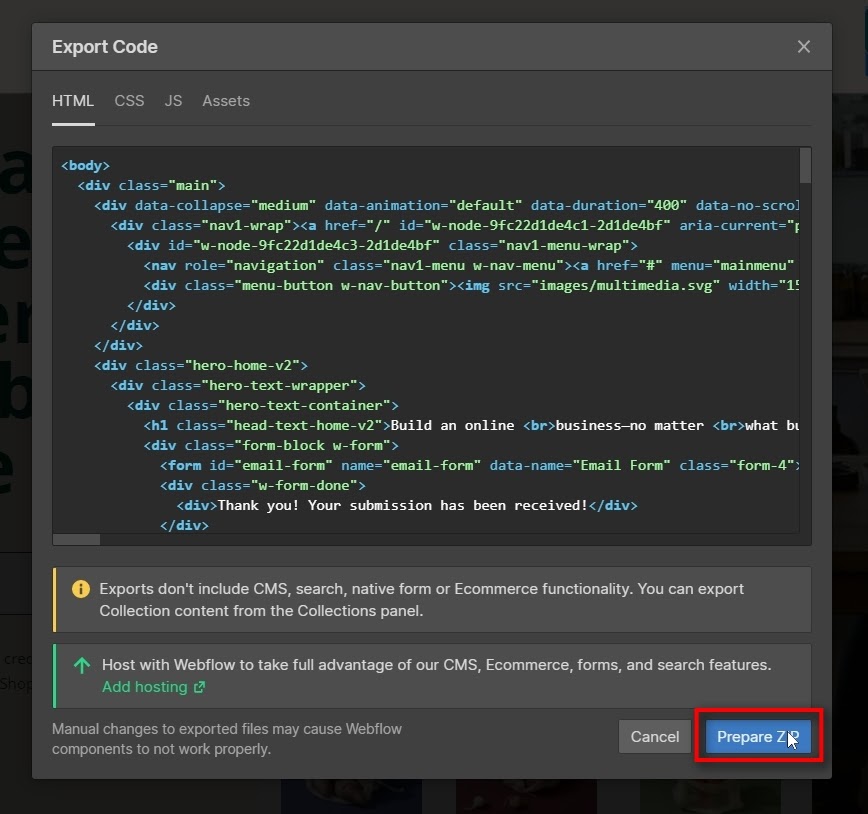
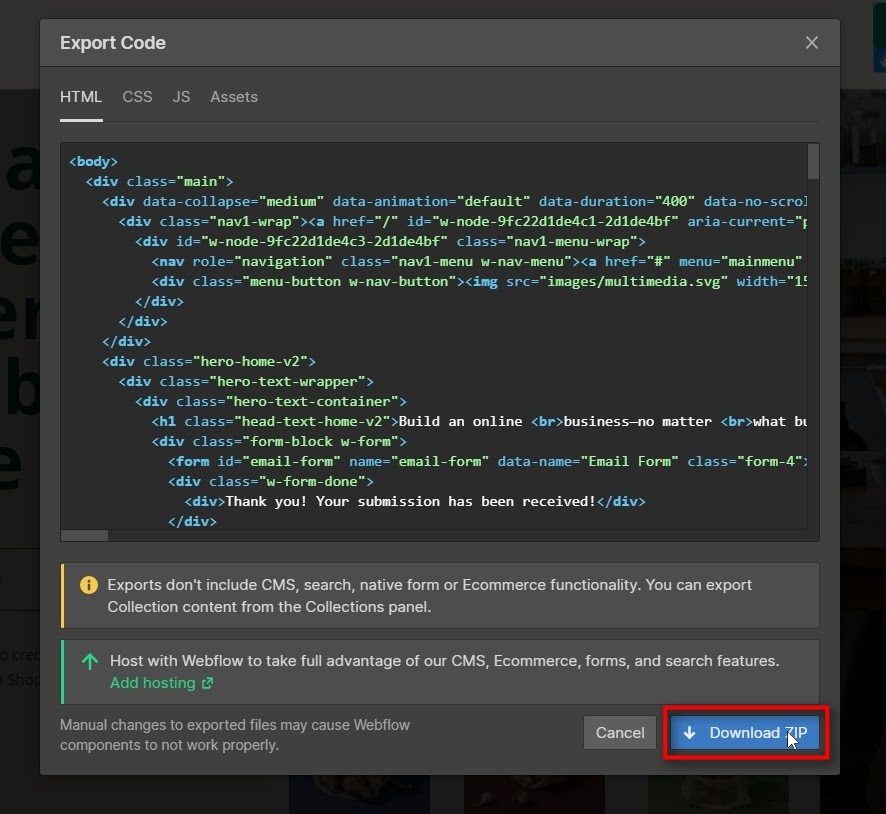
2. Wait for the code to load, then click "prepare zip," and download.
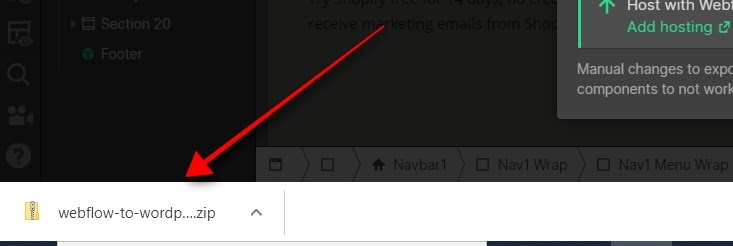
Your zip file will be downloaded to your computer:
3. Head over to Udesly -If you already have a Udesly.com account, skip to the next step. If you haven't done so already, create an account, and confirm your registration.
4. Log into Udesly, “Go to the Adapter”
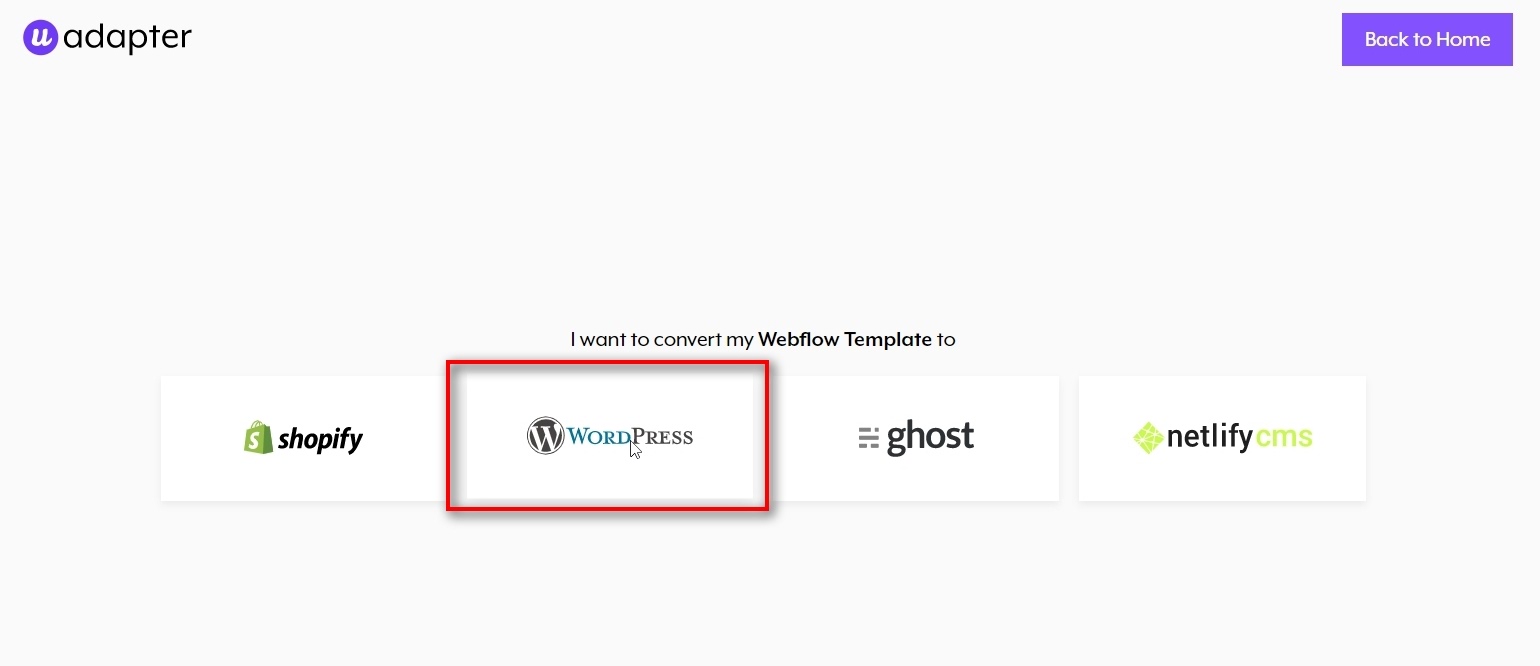
5. Select Wordpress from the options you see.
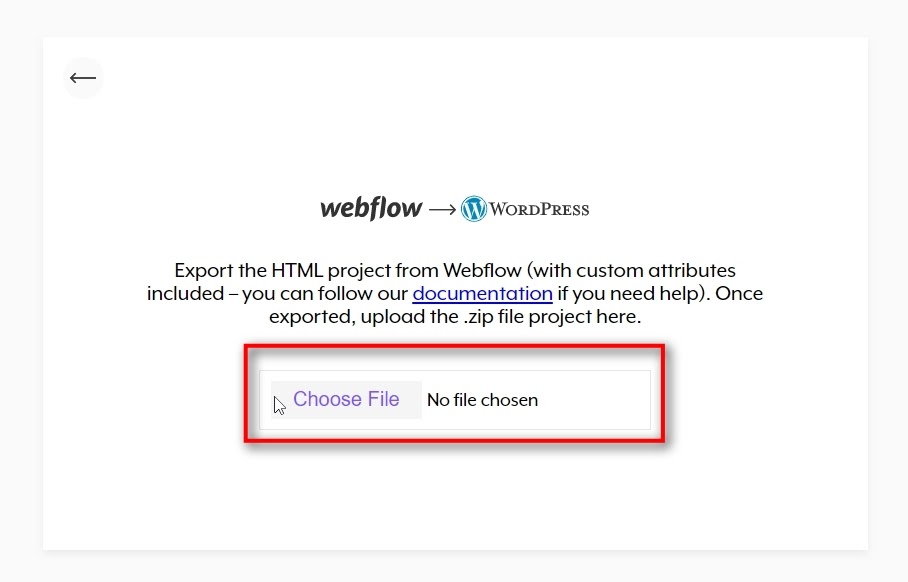
6. Next, drag and drop the zip file you downloaded from Webflow with your theme, on to the WordPress logo.
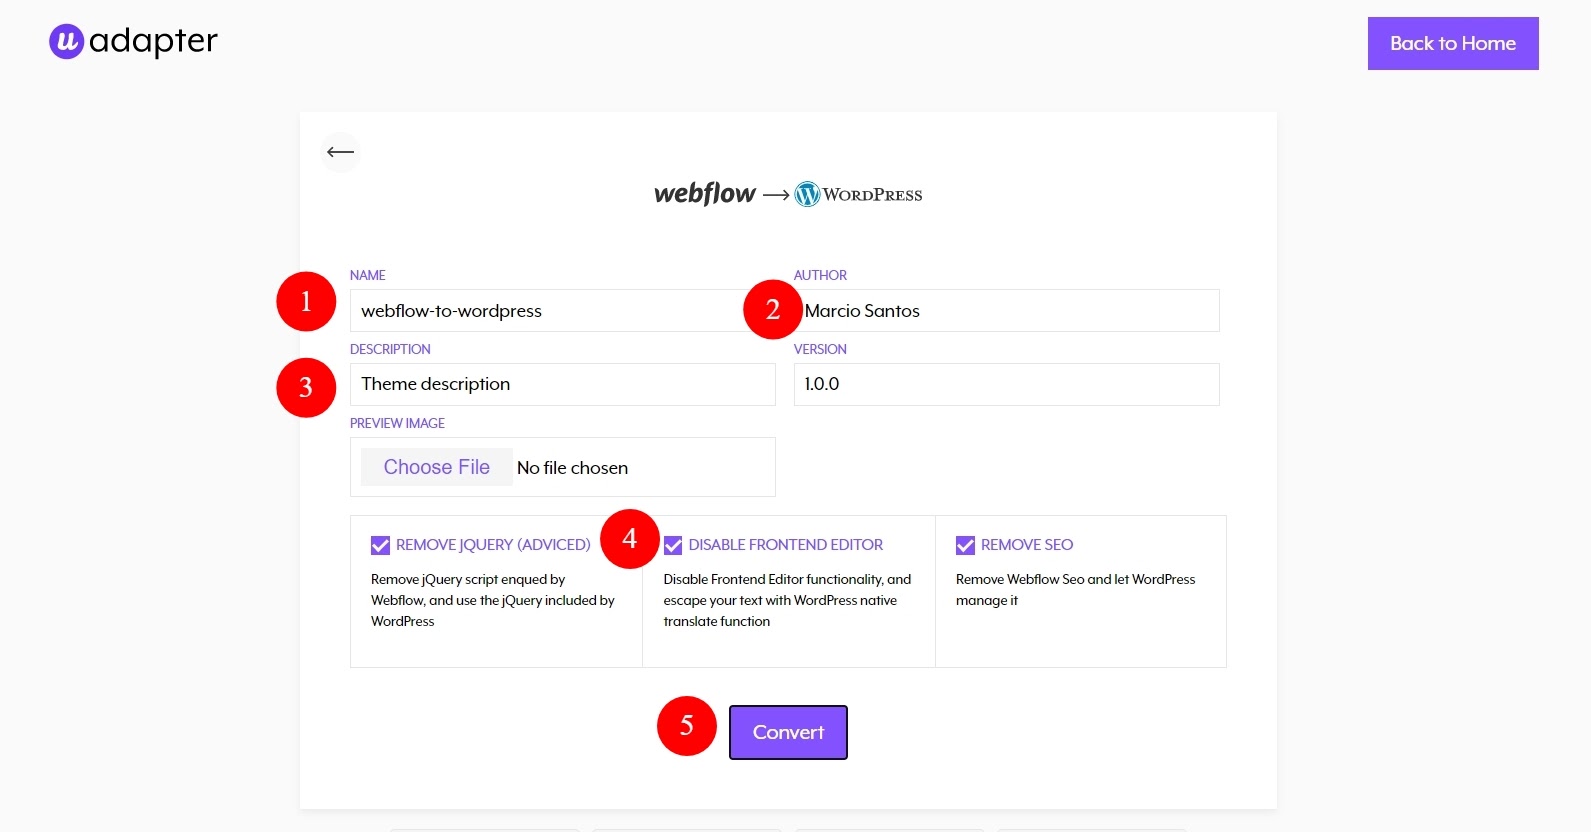
7. Give your theme a name, version, author, and deselect the "allow frontend editing" from the checkbox. Then click “convert”.
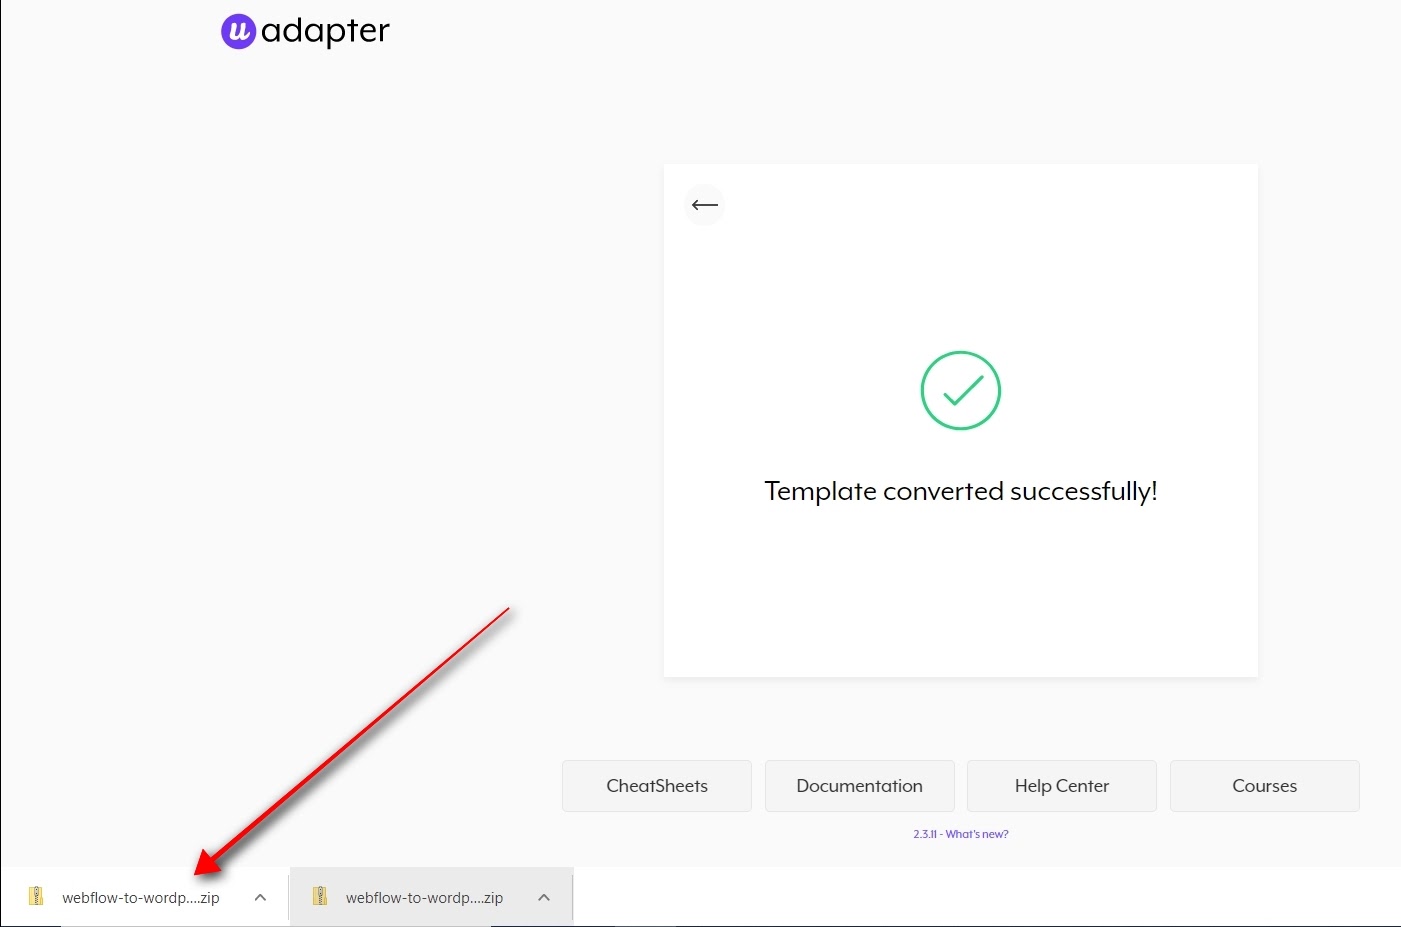
8. Download your theme - Udesly will process your theme and if all goes well, it will automatically download the file to your computer.
Part 4: Import your converted Webflow theme into Wordpress
At this point, you have a zip file that's ready to be imported into Wordpress. The next few steps will guide you through setting up your theme inside Wordpress.
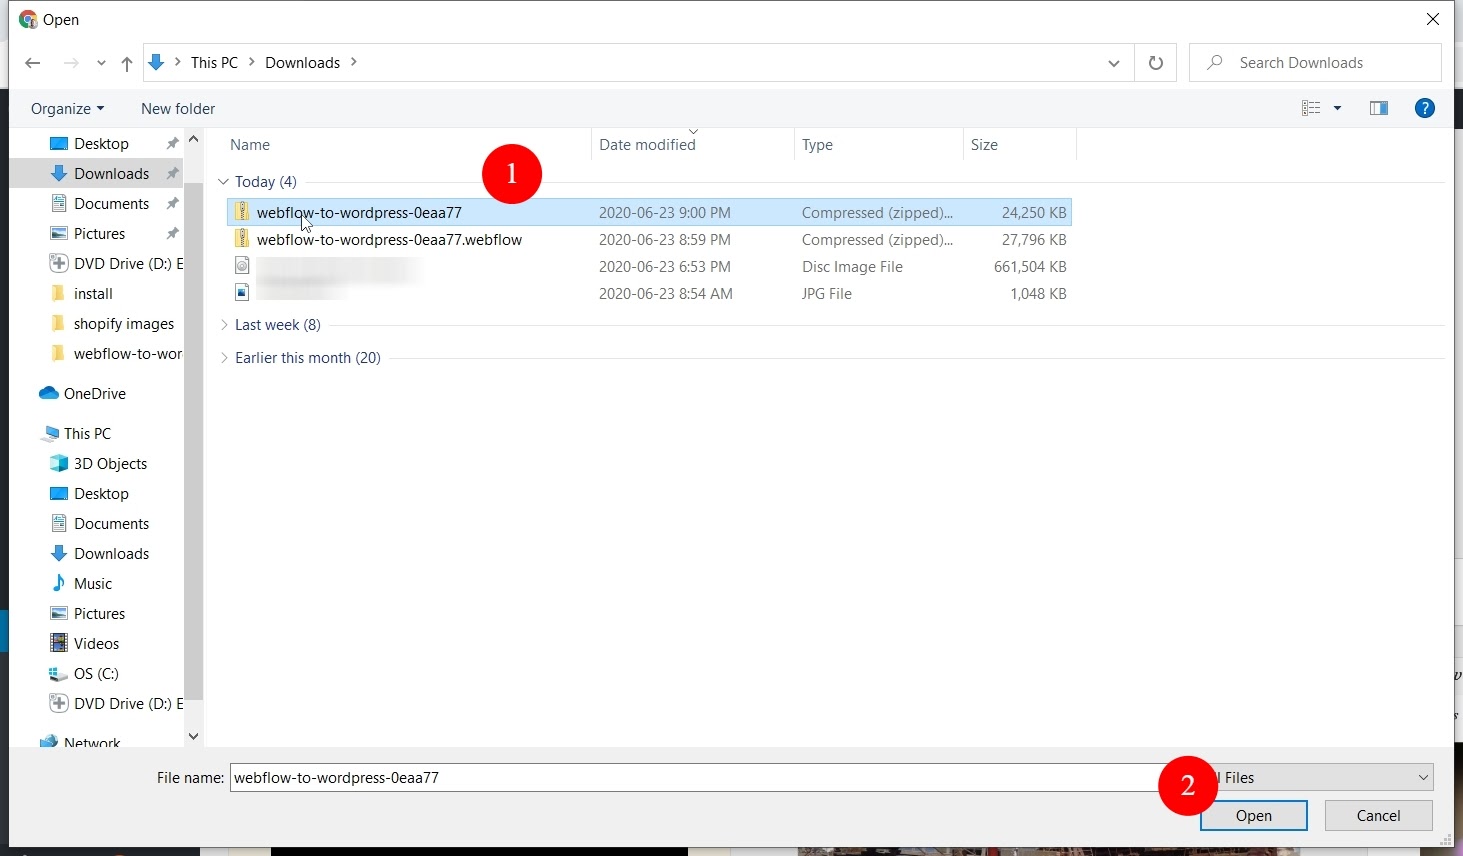
1. Log into Wordpress, click on "Appearance / Themes / Add new" , then upload the zip file you downloaded from Udesly.
2. Select the converted zip file you downloaded from Udesly:
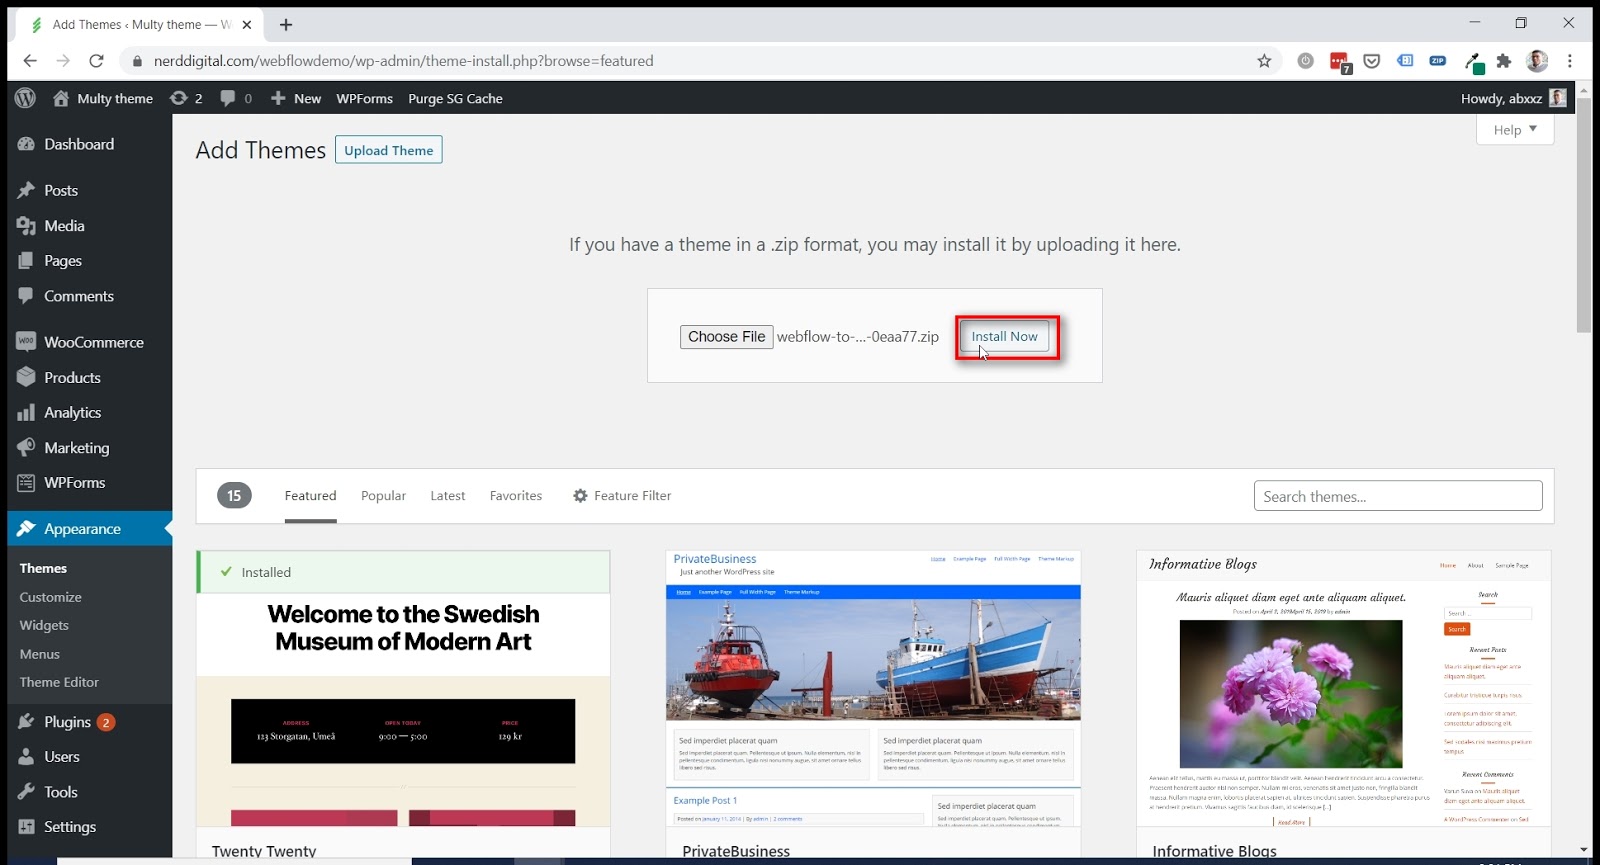
3. Install your theme by clicking “Install Now”:
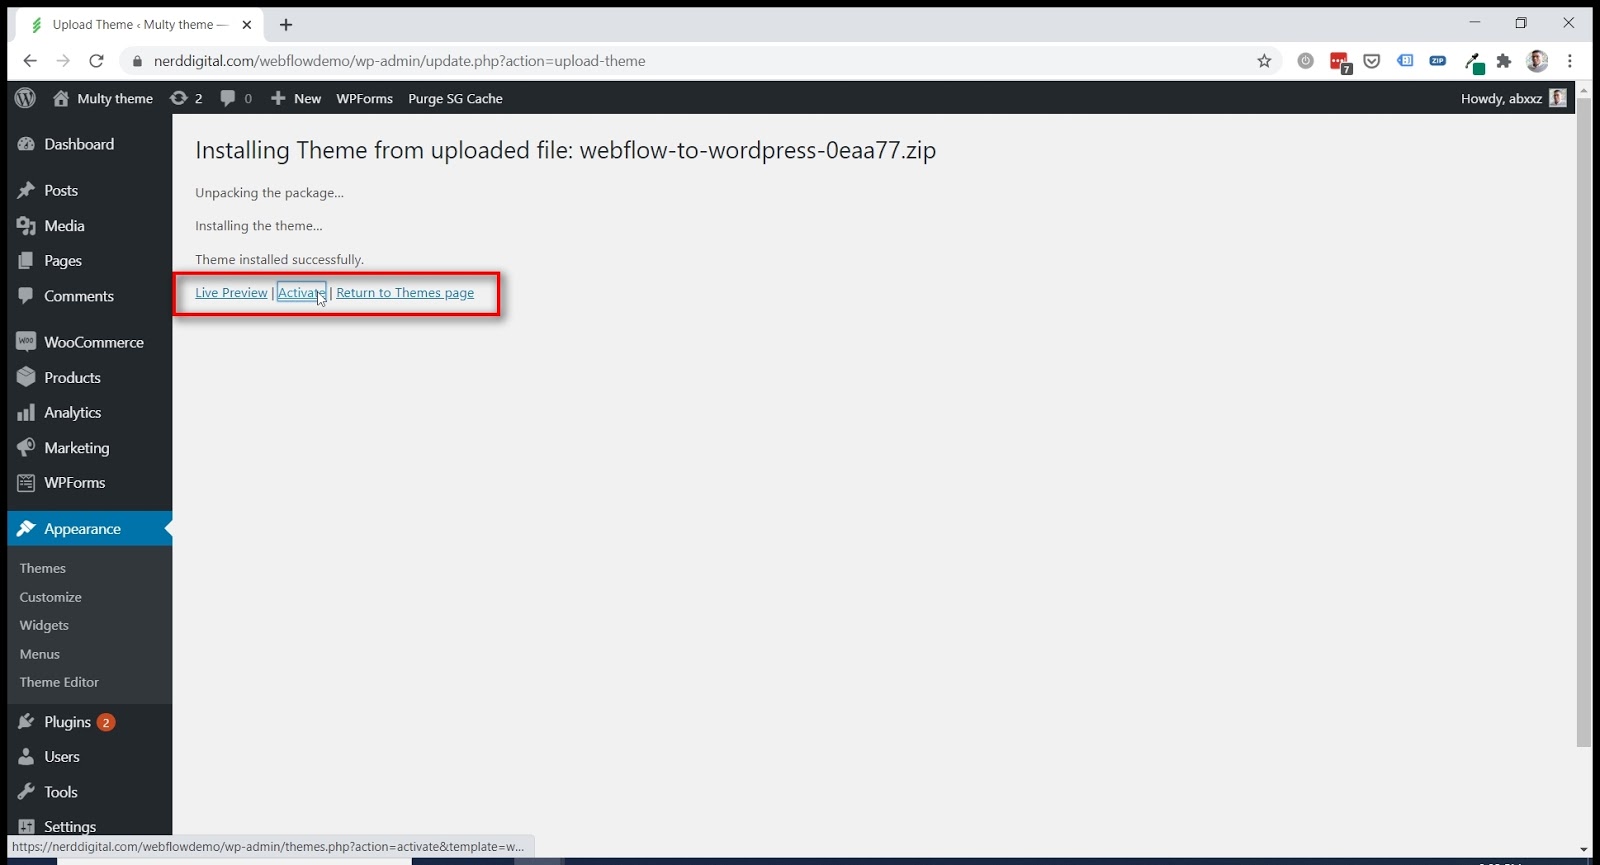
4. Activate your theme:
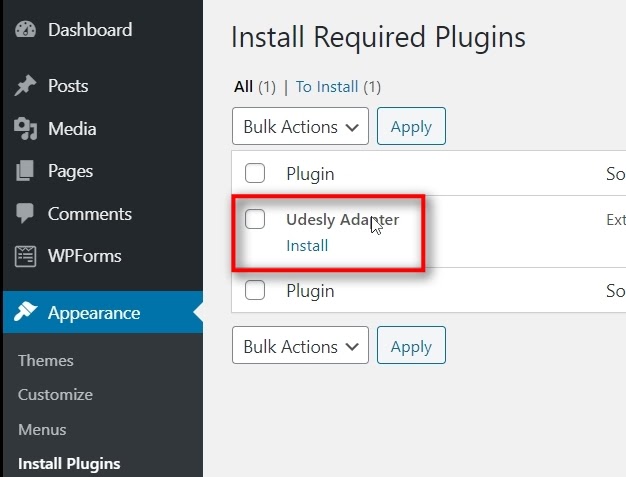
5. Configure Wordpress theme with Udesly - Once you add and activate your new theme, click on plugins. Udesly will automatically appear so that you can install it. Click on install, then activate.

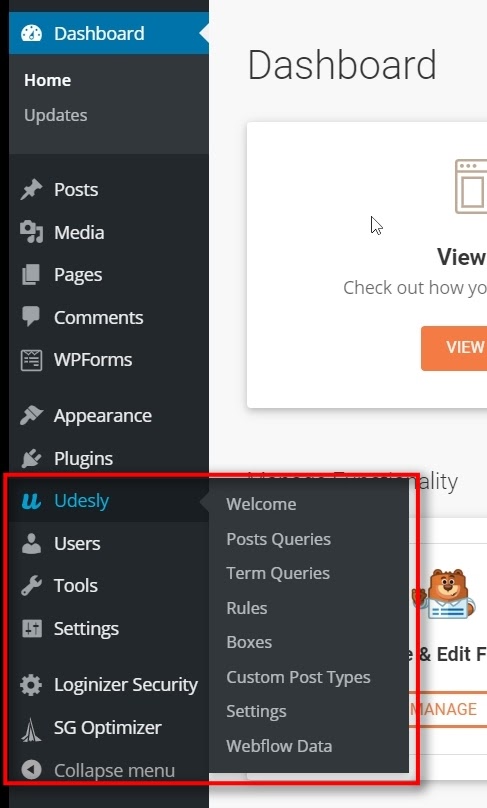
6. Udesly will now appear in the sidebar menu:
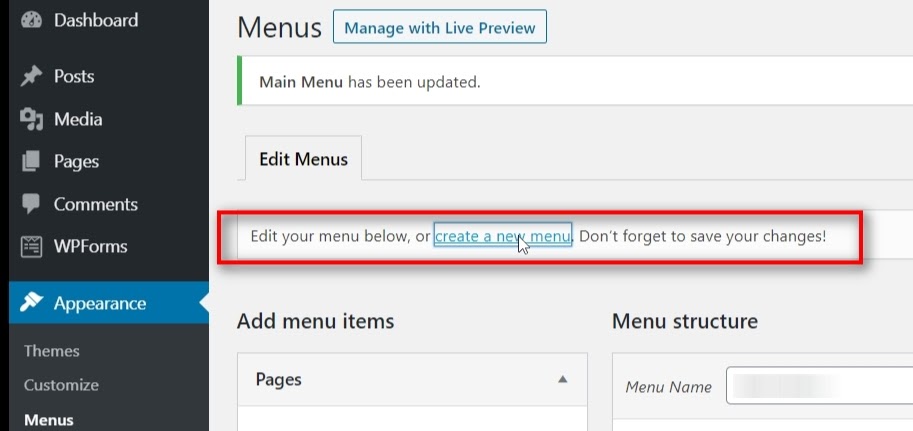
7. Set up your header menu - Now head over to menus by clicking Appearance / Menus.
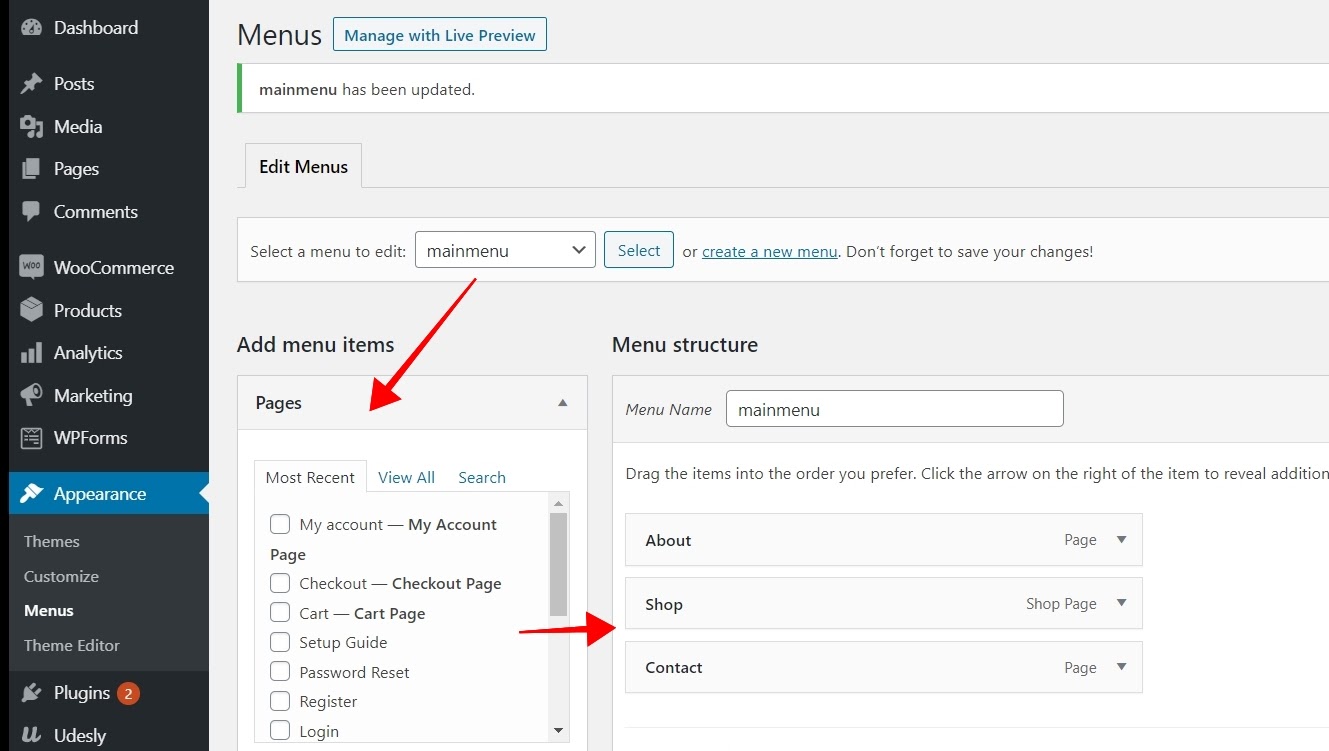
Create a new menu by clicking "create a new menu" and name it "mainmenu".
8. Add 2 or 3 pages to your menu so you can see it in action. Click "Save Menu"
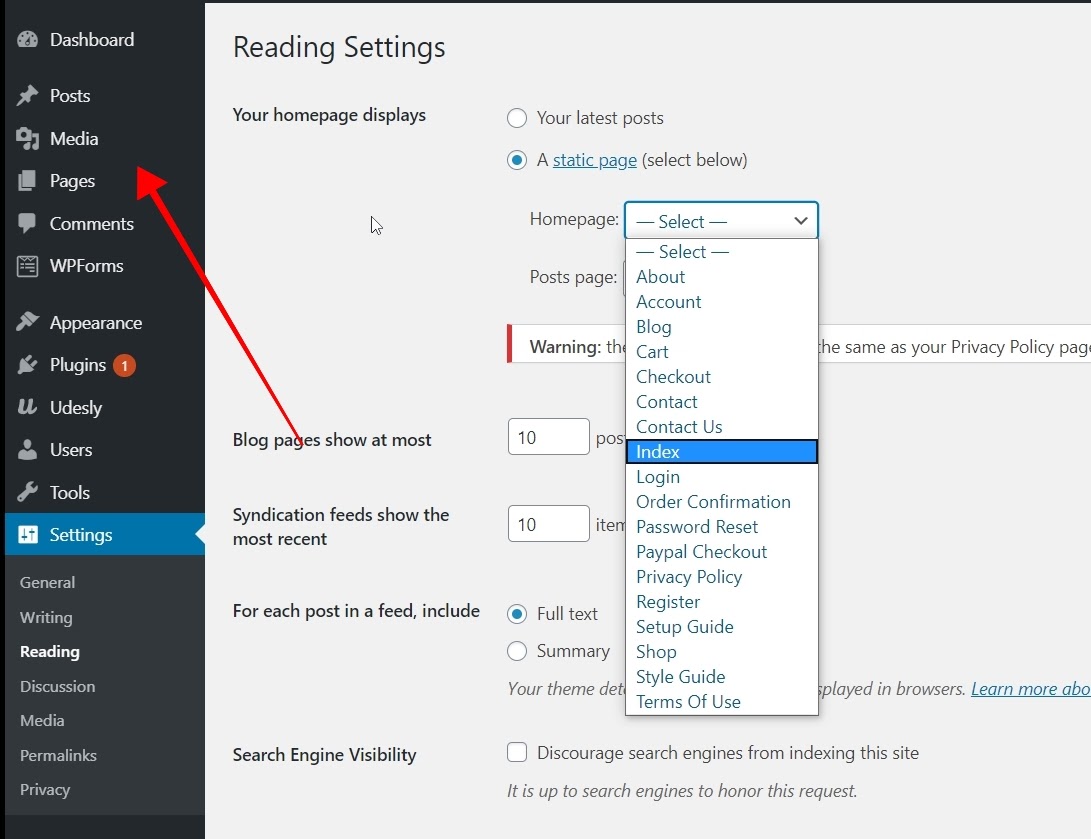
9. Choose a homepage - next go to the “Reading” settings in the “Settings” menu, and select “index” from the “Homepage” dropdown menu:


10. Check for error messages in Udesly - From your WordPress admin panel, click on Udesly in the menu bar on the left then “Webflow Data”
11. Click on “Importa Data”
12. Install Woocommerce - I know this is just a demo and you won’t need to sell anything but you may be prompted to install Woocommerce in order to run the Webflow theme. So head over to plugins, “add new”. Then search for “Woocommerce”, install, and activate.
13. Preview your new theme - Now that your theme has been imported, your menus created, you can preview your theme.
Part 5: What should you update next?
If you want to get feedback from your clients or colleagues on what to update with your theme, you can two approaches:
1. Publish your Webflow theme to a temporary domain. No need to add a custom domain yet, just publish to the default yoursite.webflow.io domain by clicking on "Publish / Publish to Selected Domains", make sure the checkbox next to "Custom Domain" is unchecked.
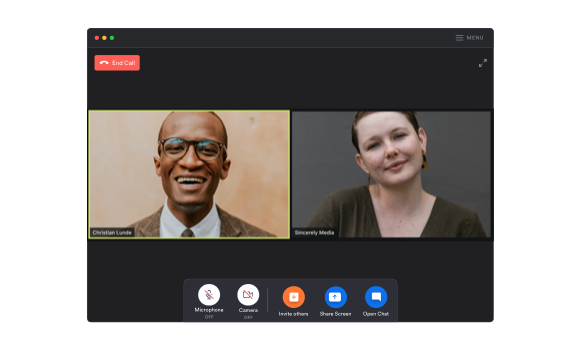
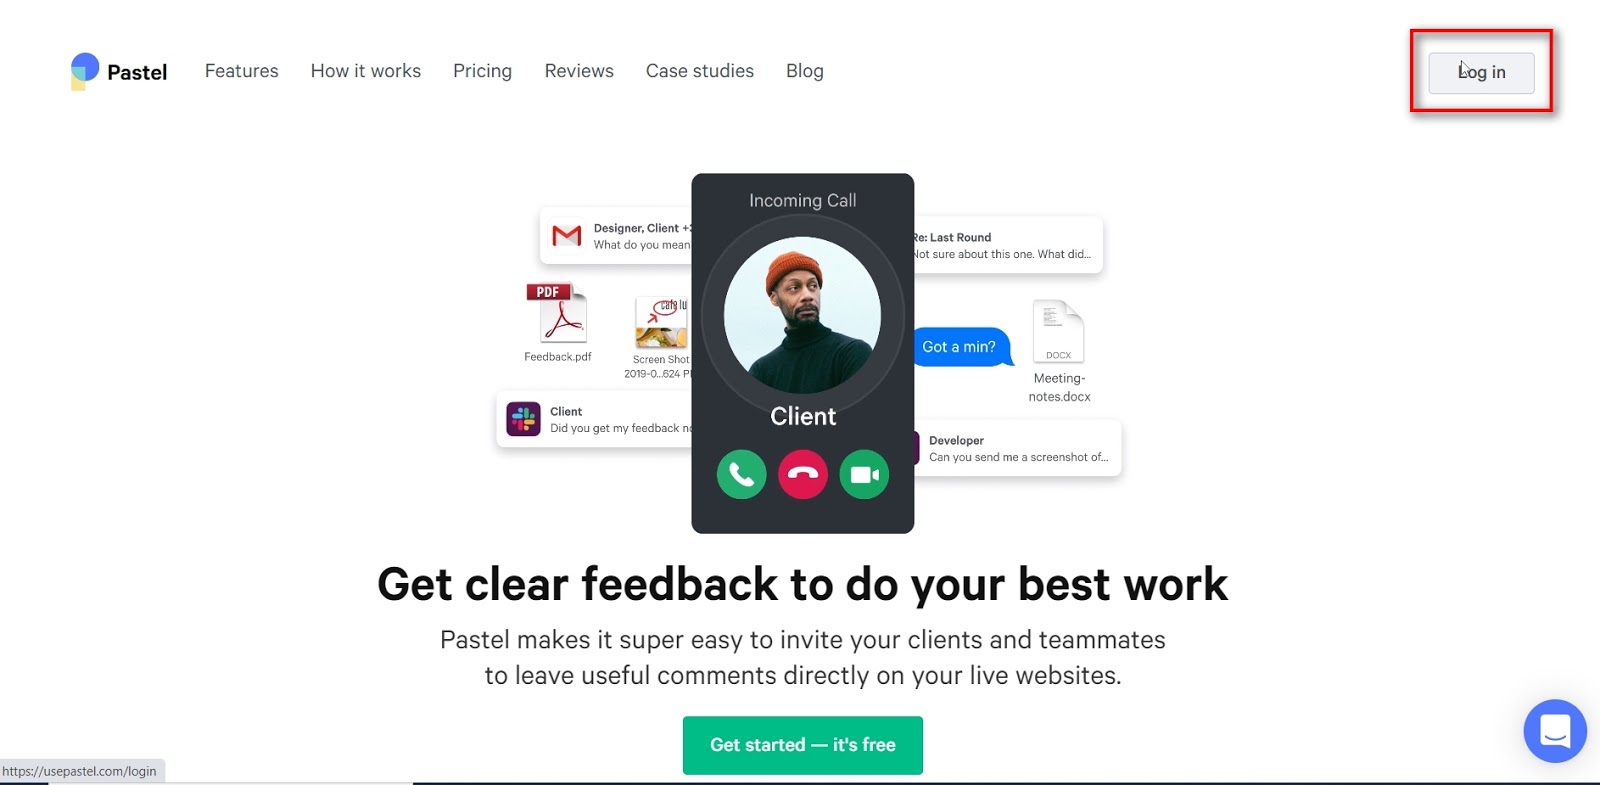
2. Signup for a Pastel account. Add the URL to your Webflow theme (if you prefer you can share the URL to your Wordpress site). Then simply share the link with your clients or colleagues
Conclusion
You just learned a step-by-step process to create a Wordpress theme using Webflow. We started off with a free theme from Udesly, made a few edits in Webflow then imported your theme into Wordpress.
You also learned how to include your clients or colleagues into the process to save you time with Pastel.
Having said that, this only scratches the surface of creating customized Wordpress themes with Webflow. When combined with the Advanced Custom Fields plugin (ACF) you can build virtually anything:
You can design your theme and interactions in Webflow, convert them and import them into Wordpress, then add more functionality and customizations using ACF.
Get in depth tips on how to create custom Wordpress themes using Webflow, plus a copy of the theme created in this demo here.
Now over to you, if this was the first time going through this process, how did you like it? Can you see yourself using Webflow to build Wordpress themes in the future?